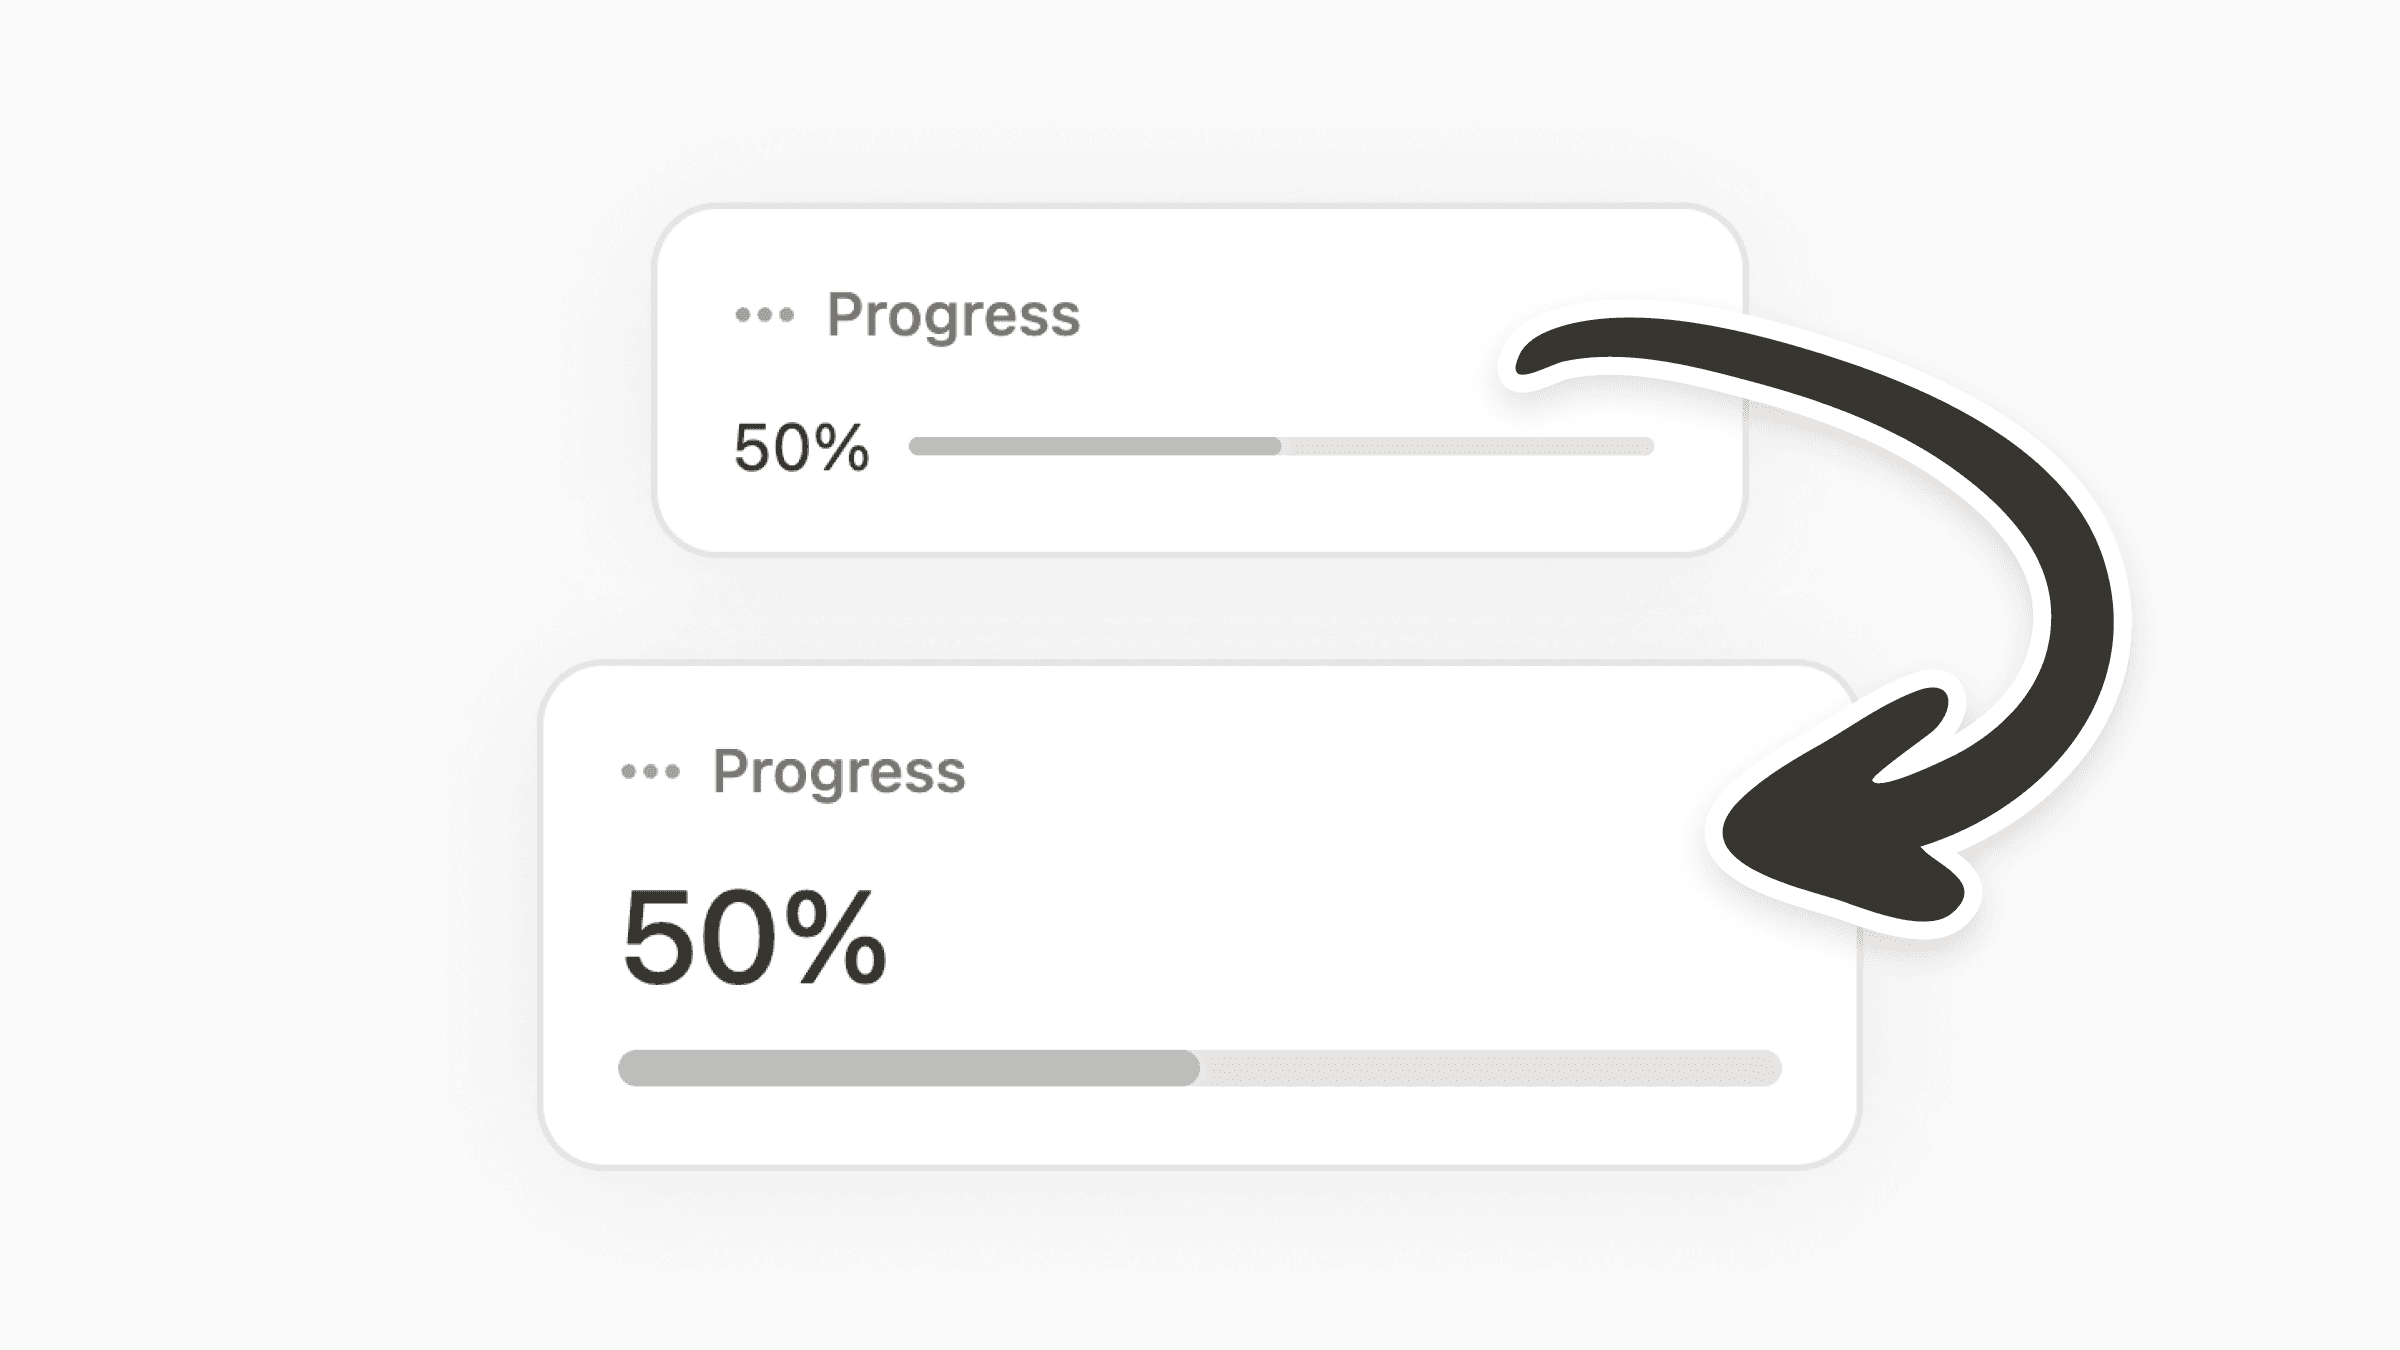
How to Create a Large Progress Bar in Notion
Use Notion's new layout feature to create a larger and more visible progress bar.
Dec 26, 2024, 12:00 AM
In this guide, we'll learn how to use Notion's new page layout feature to create a large progress bar.
A more visible progress bar can better remind you of your progress and motivate you.
But first, let's look at the default way to create a progress bar in Notion.
Creating a Standard Progress Bar (Rollup)
With Notion's Rollup property, you can easily create a progress bar without any formulas.
For those who haven't used Rollup before, it's a property that works together with relations. When you connect a related database, a Rollup property can read and calculate items from that database.
In this example, we'll create a progress bar that tracks project completion based on related completed tasks.
Step 1: Add a Rollup property
Navigate to the database where you want to create the progress bar.
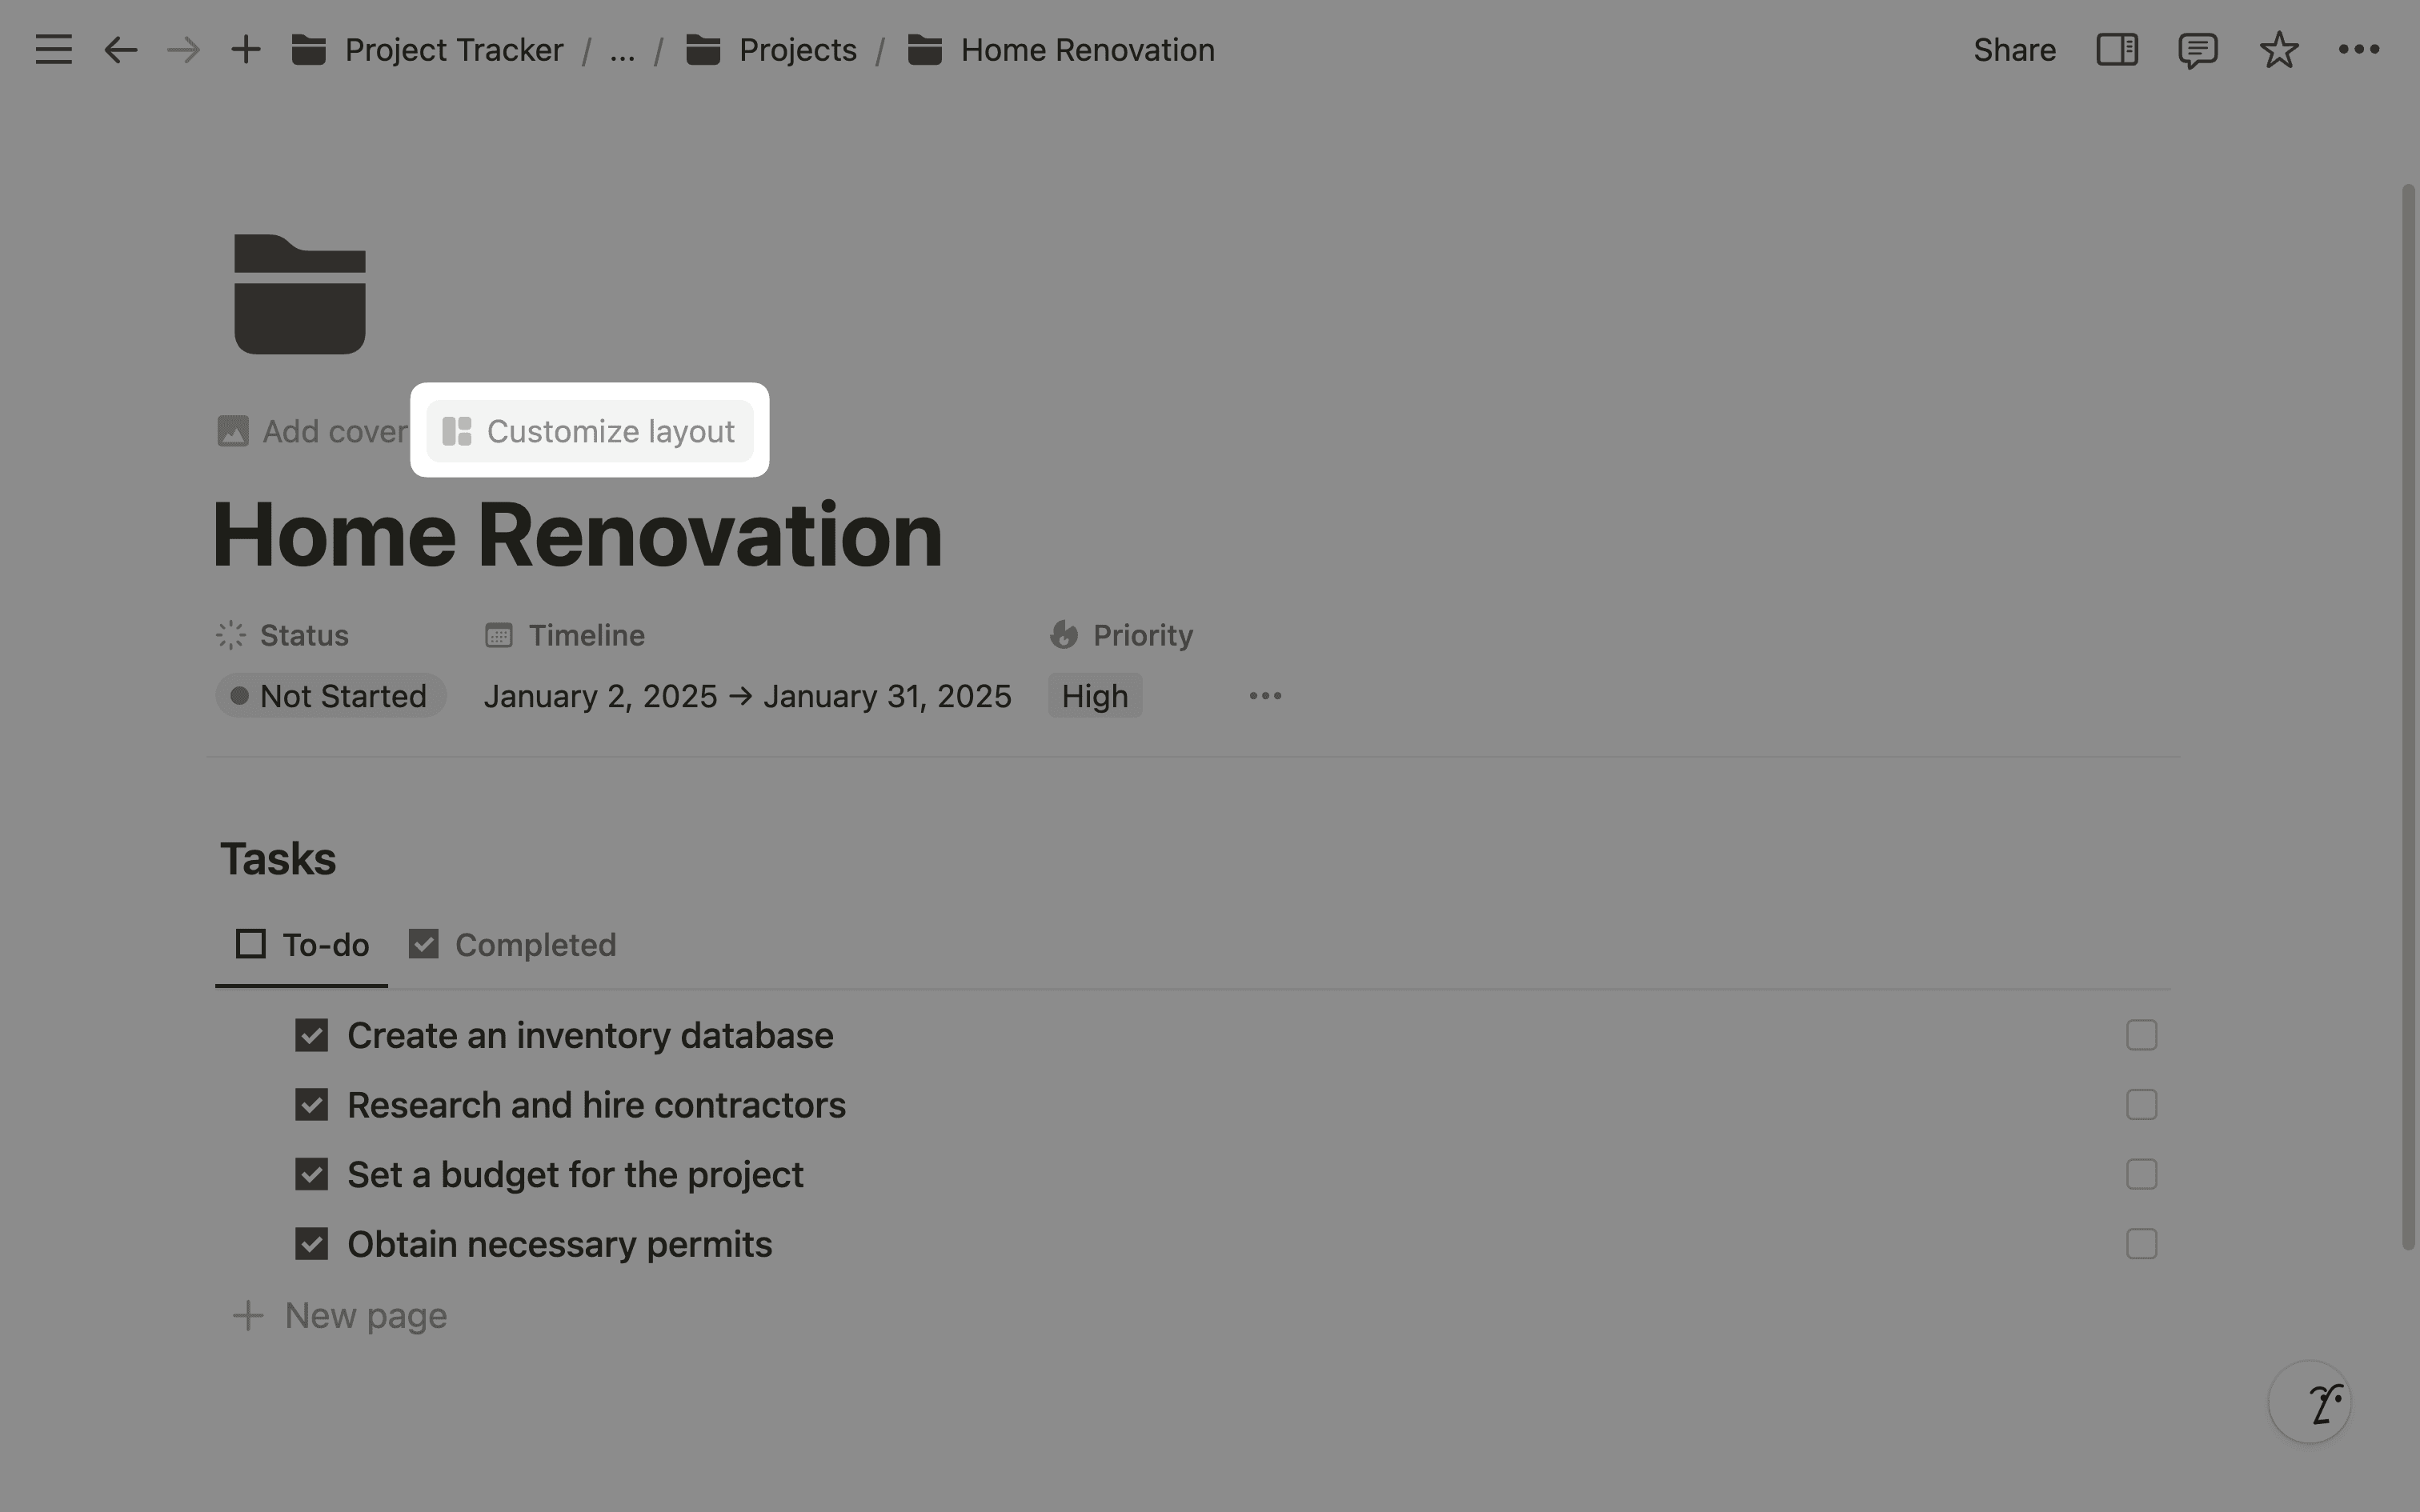
If you have hidden the Property group, as we have, click on "Customize layout" above the page title before adding a new property to the database.
Click the plus button and search for the "Rollup" property.
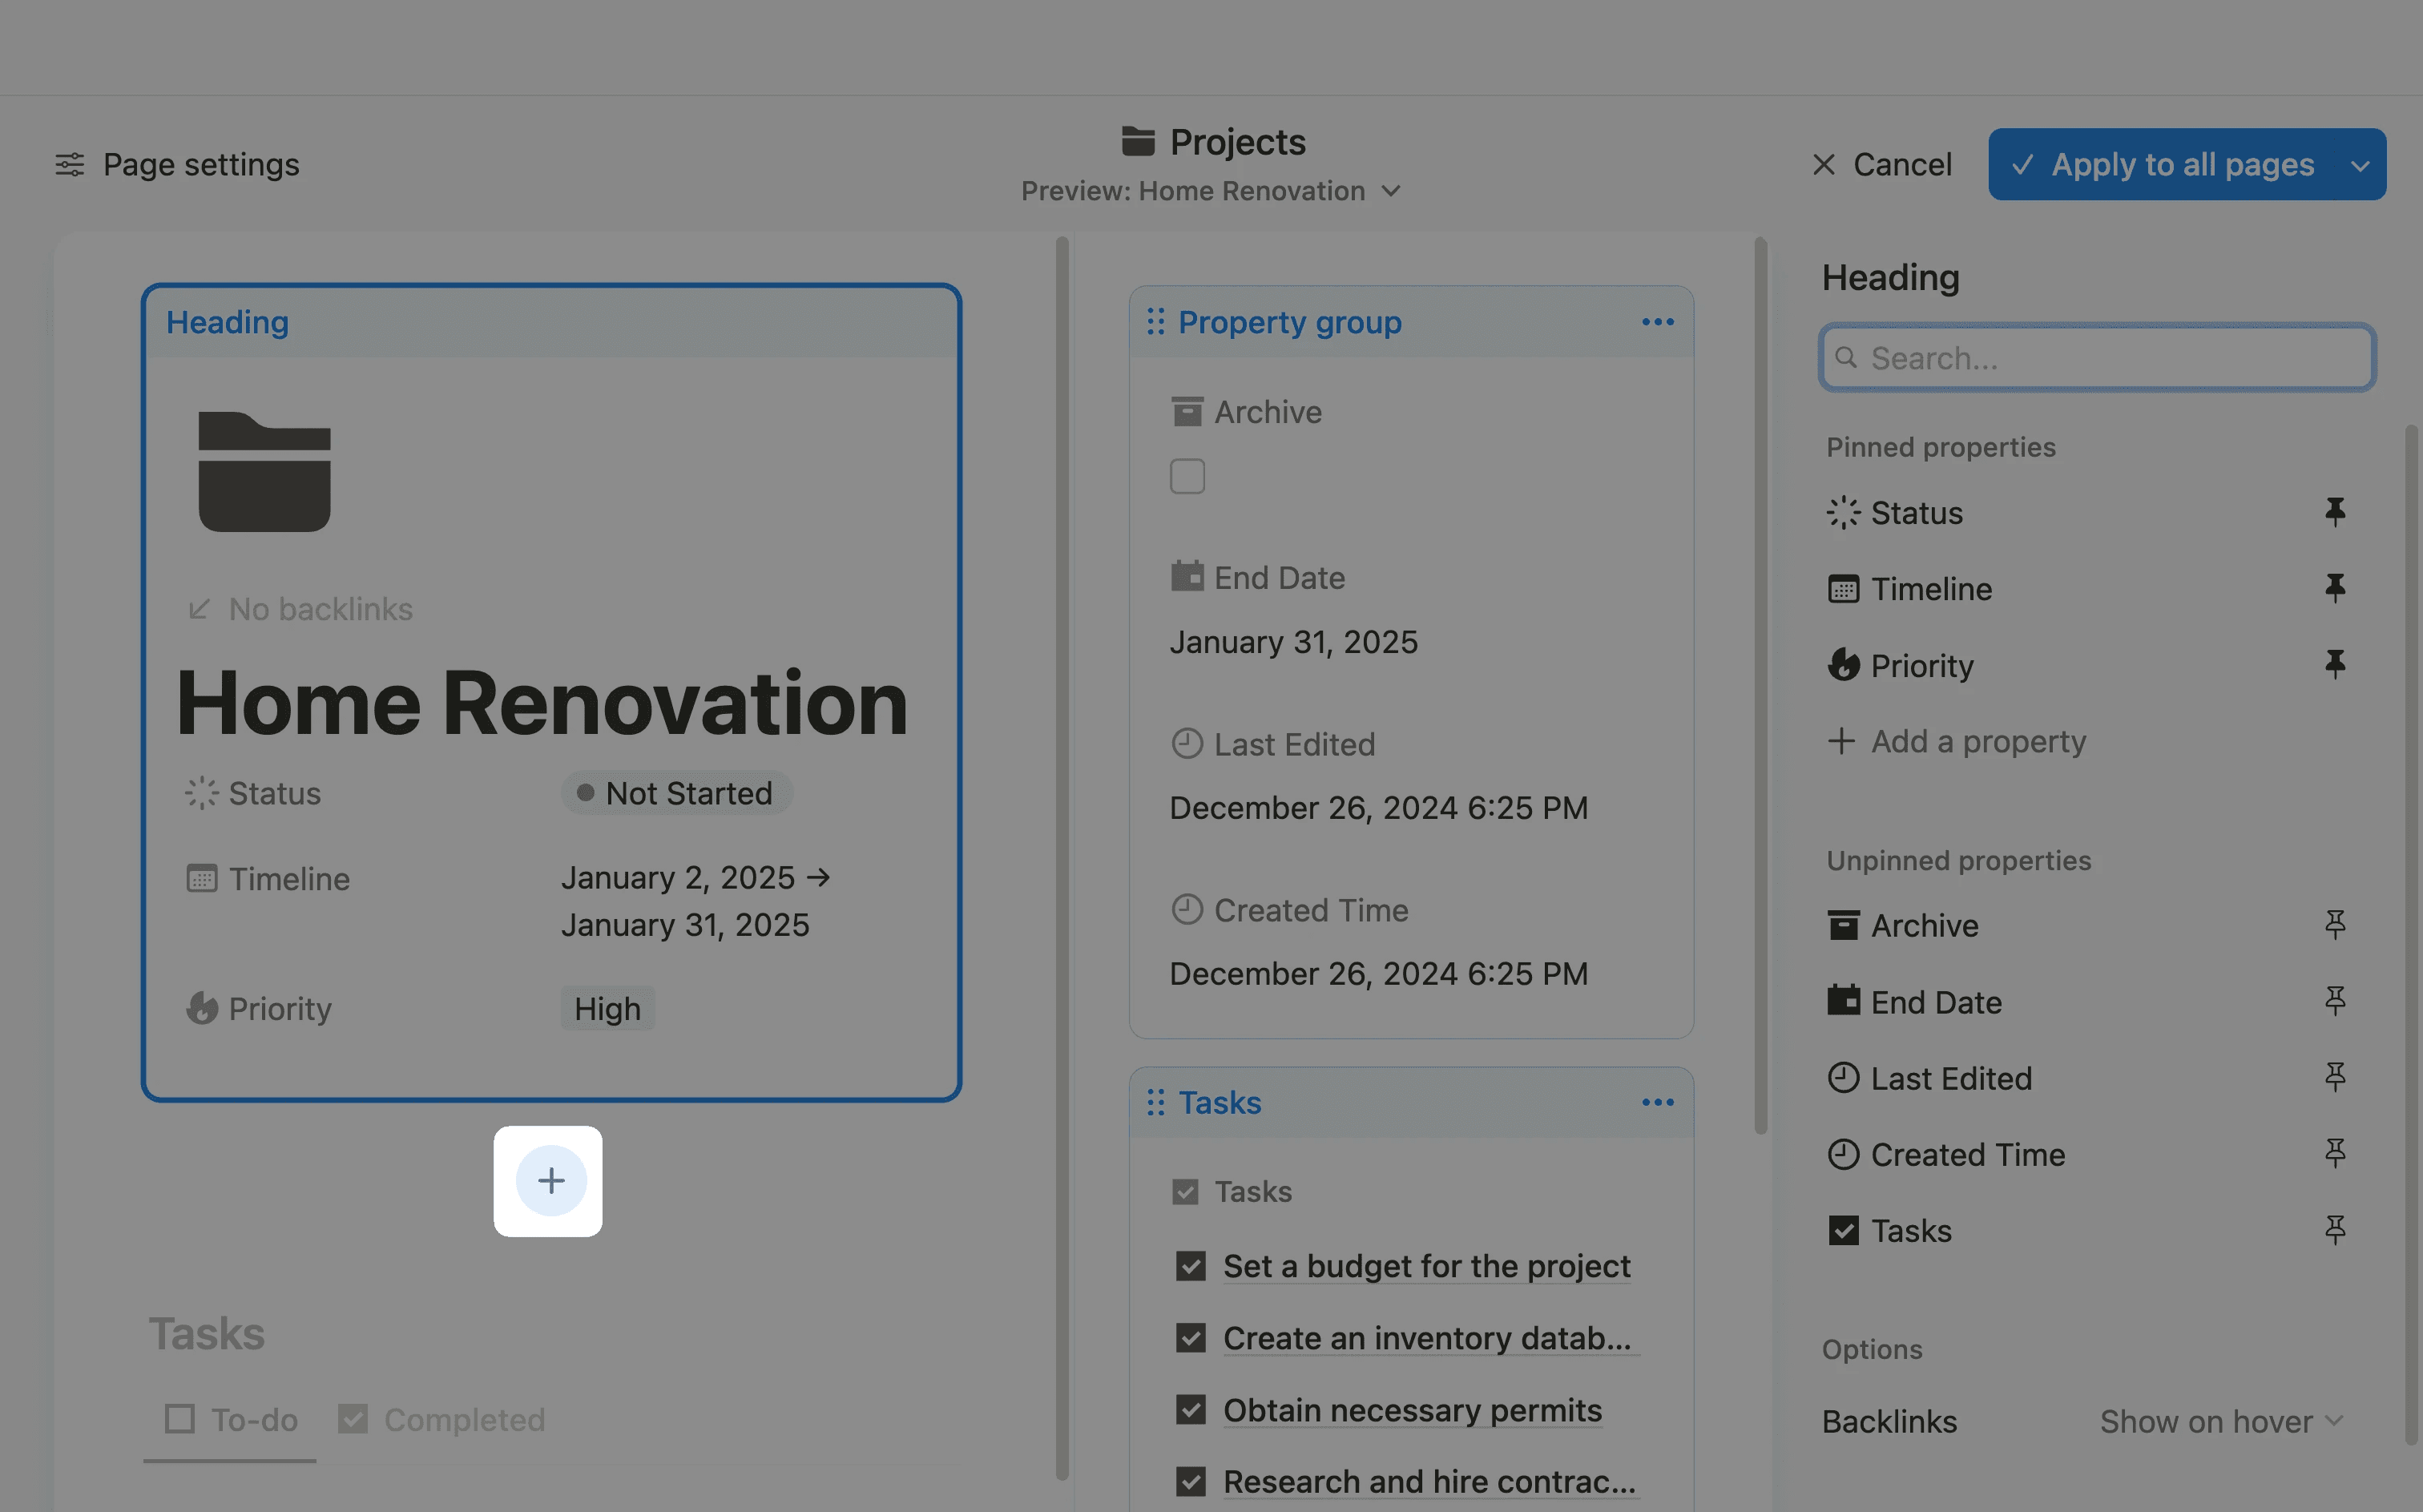
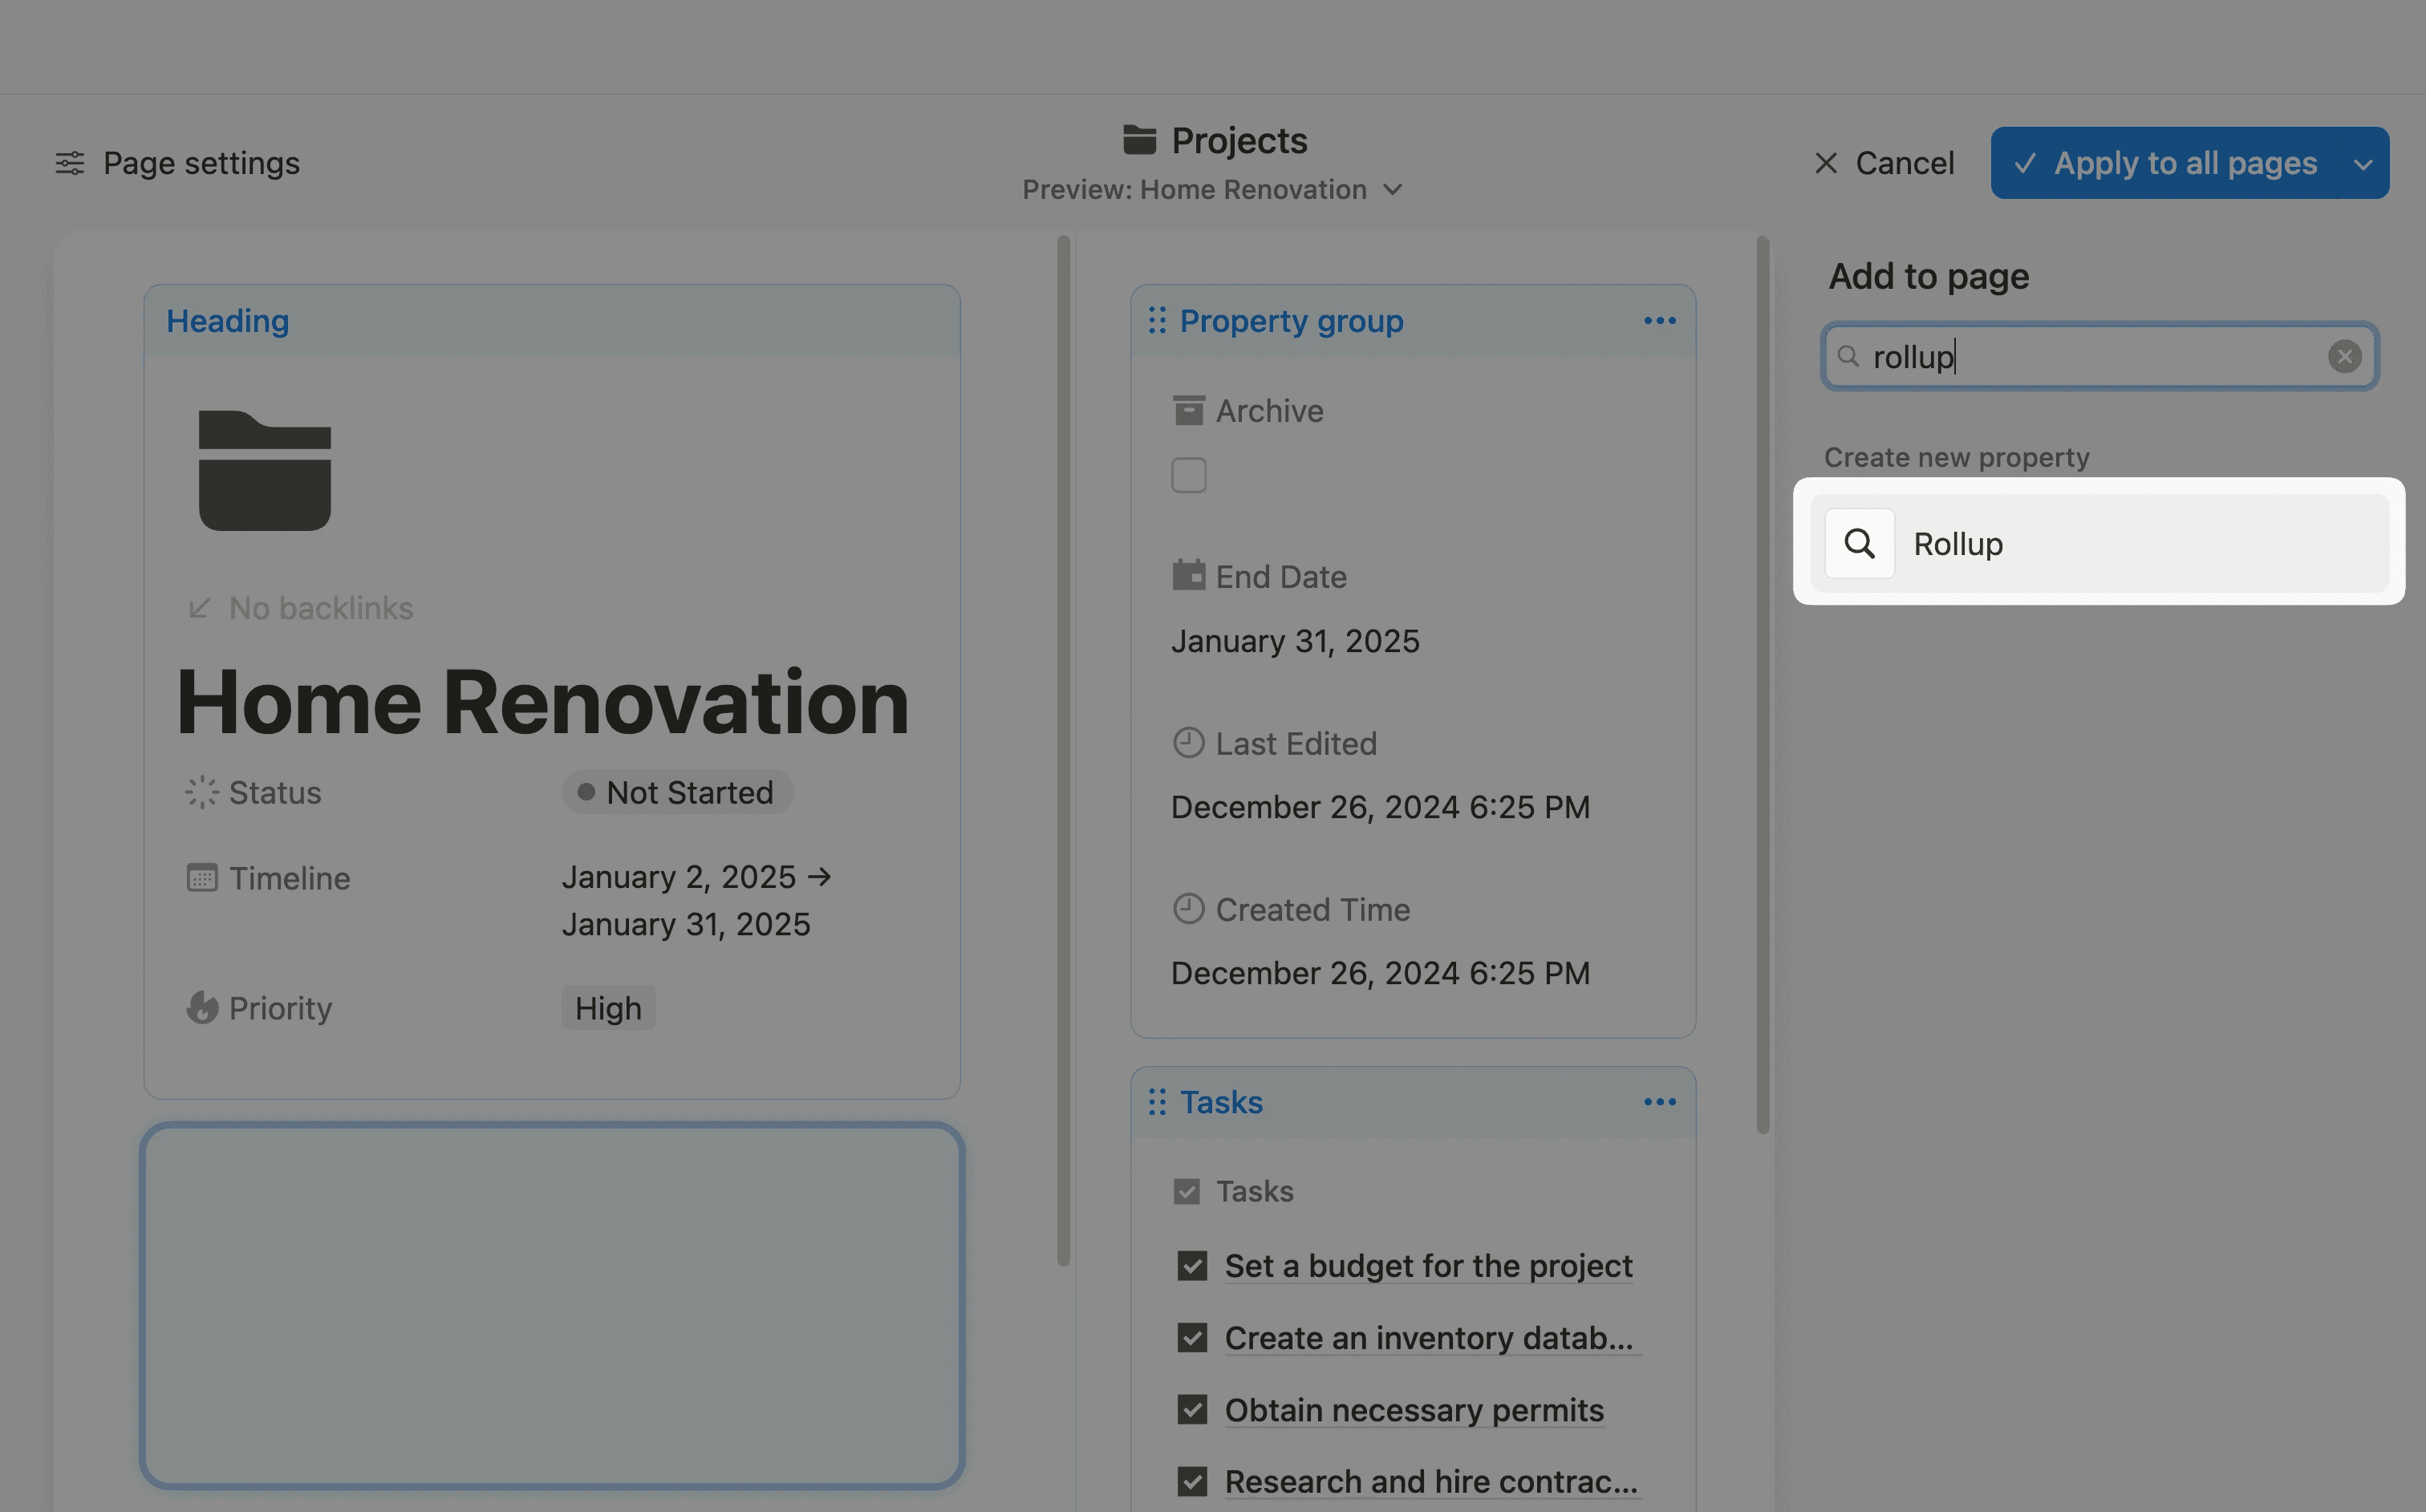
These additional steps are only relevant for adding new properties in the Layouts feature released in late 2024.
Step 2: Set up the Rollup property
For the Relation, select the appropriate relation property for your database.
The Property should be either a Checkbox property or a Status property.
Finally, choose Calculate > Percent per group > Percent checked.
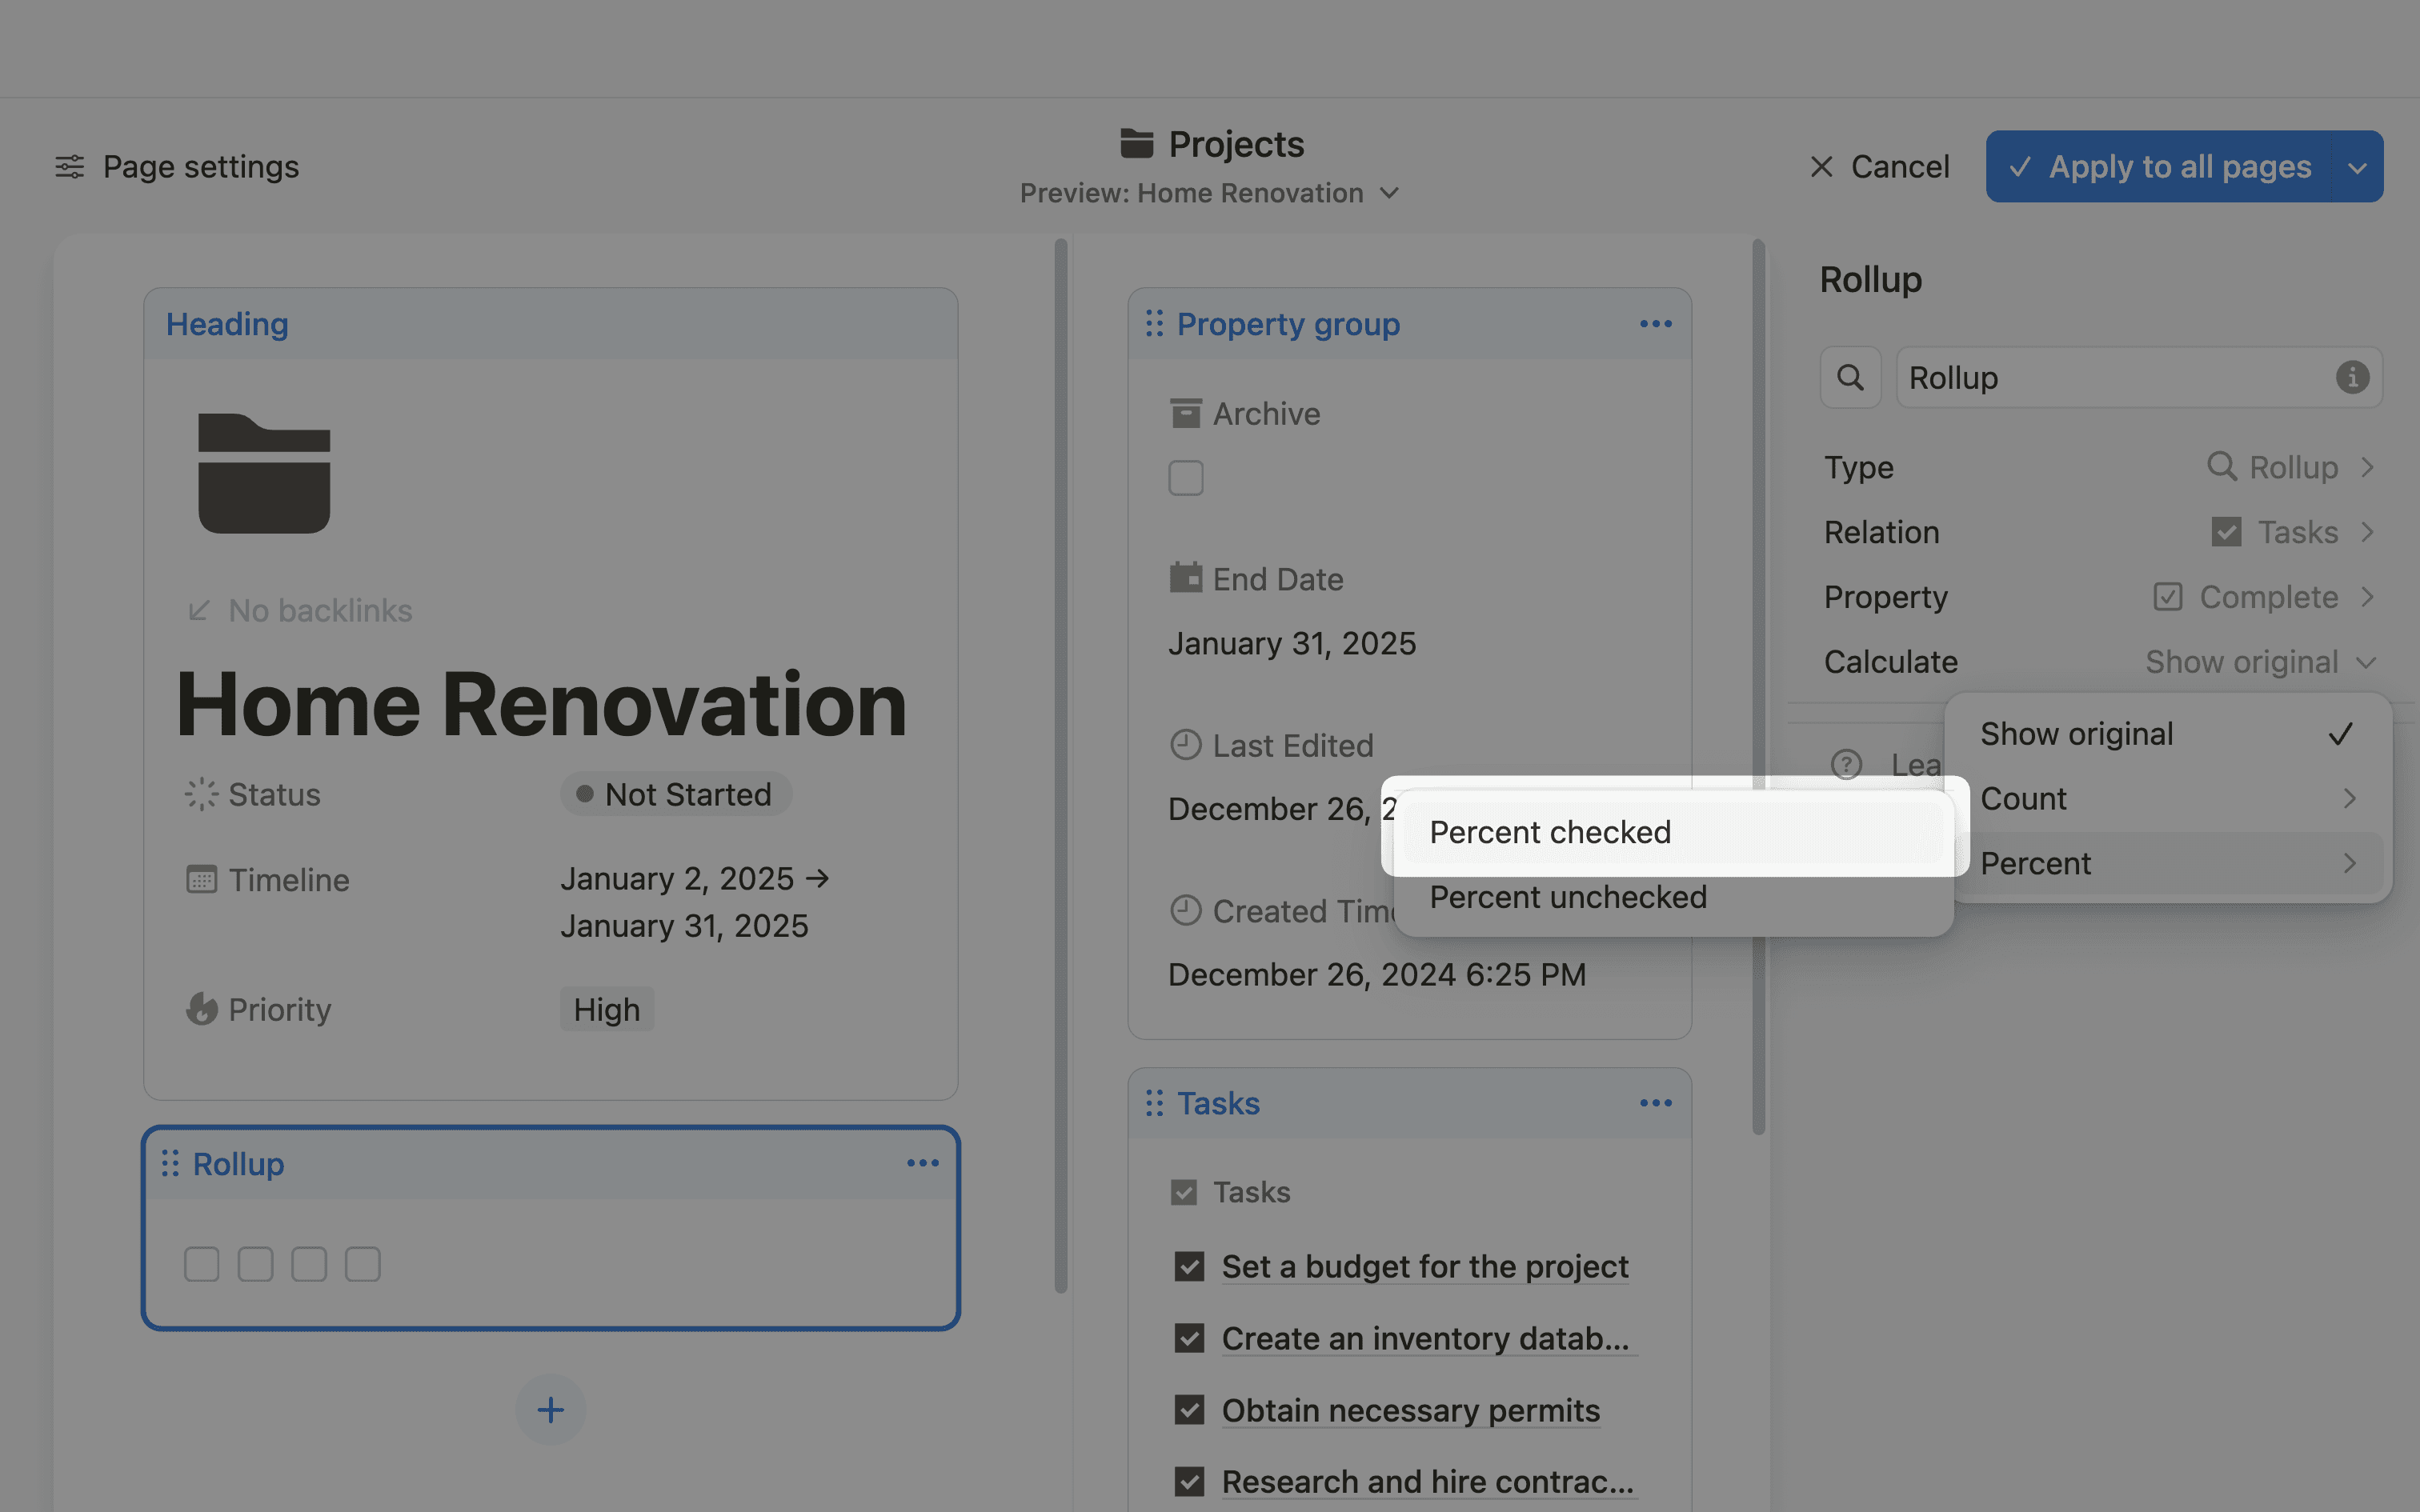
Step 3: Show as Bar
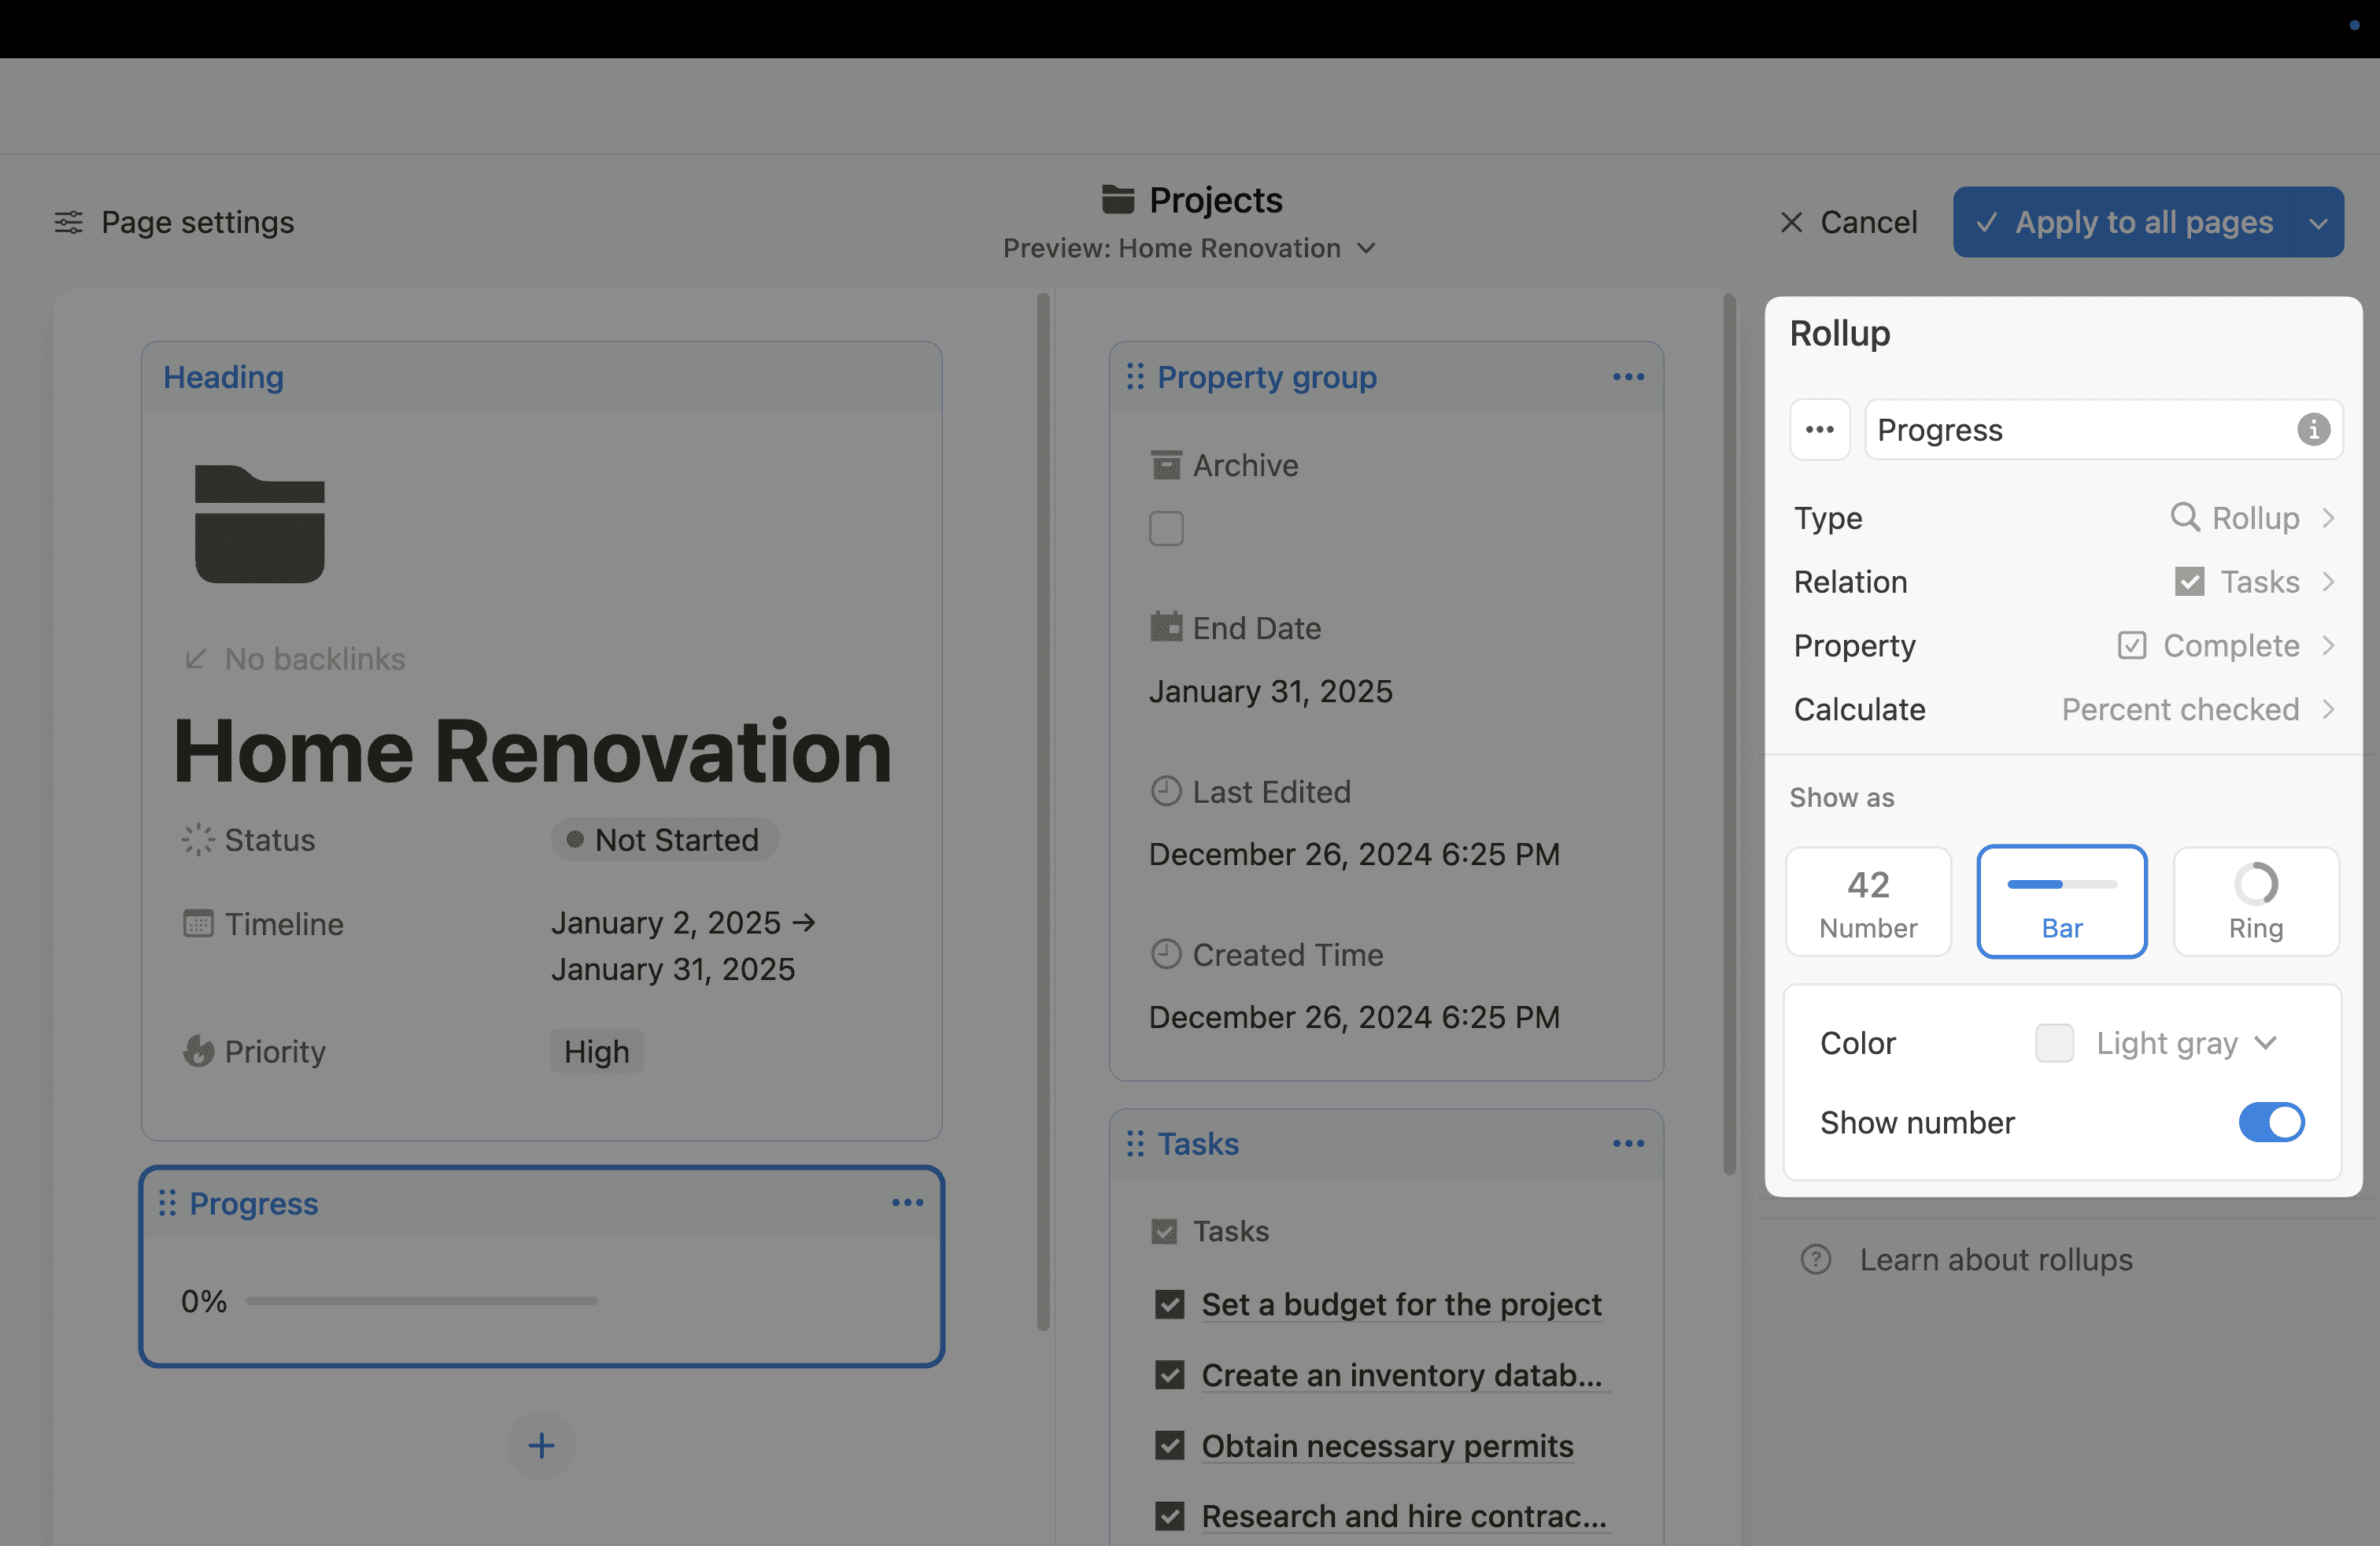
If you completed the last step correctly, you will now see the option to display a Bar or Ring.
The final setup for your Rollup property should look something like this.
Creating a Large Progress Bar (Formula)
The previous method is straightforward but limited.
It can't use the larger text display option in page layout, which is currently only available for Number and Formula properties.
Until this changes in future updates, let's learn how to create a progress bar using the Formula property.
Step 1: Add a Formula property
You can either delete the property added above or change its type to a Formula.
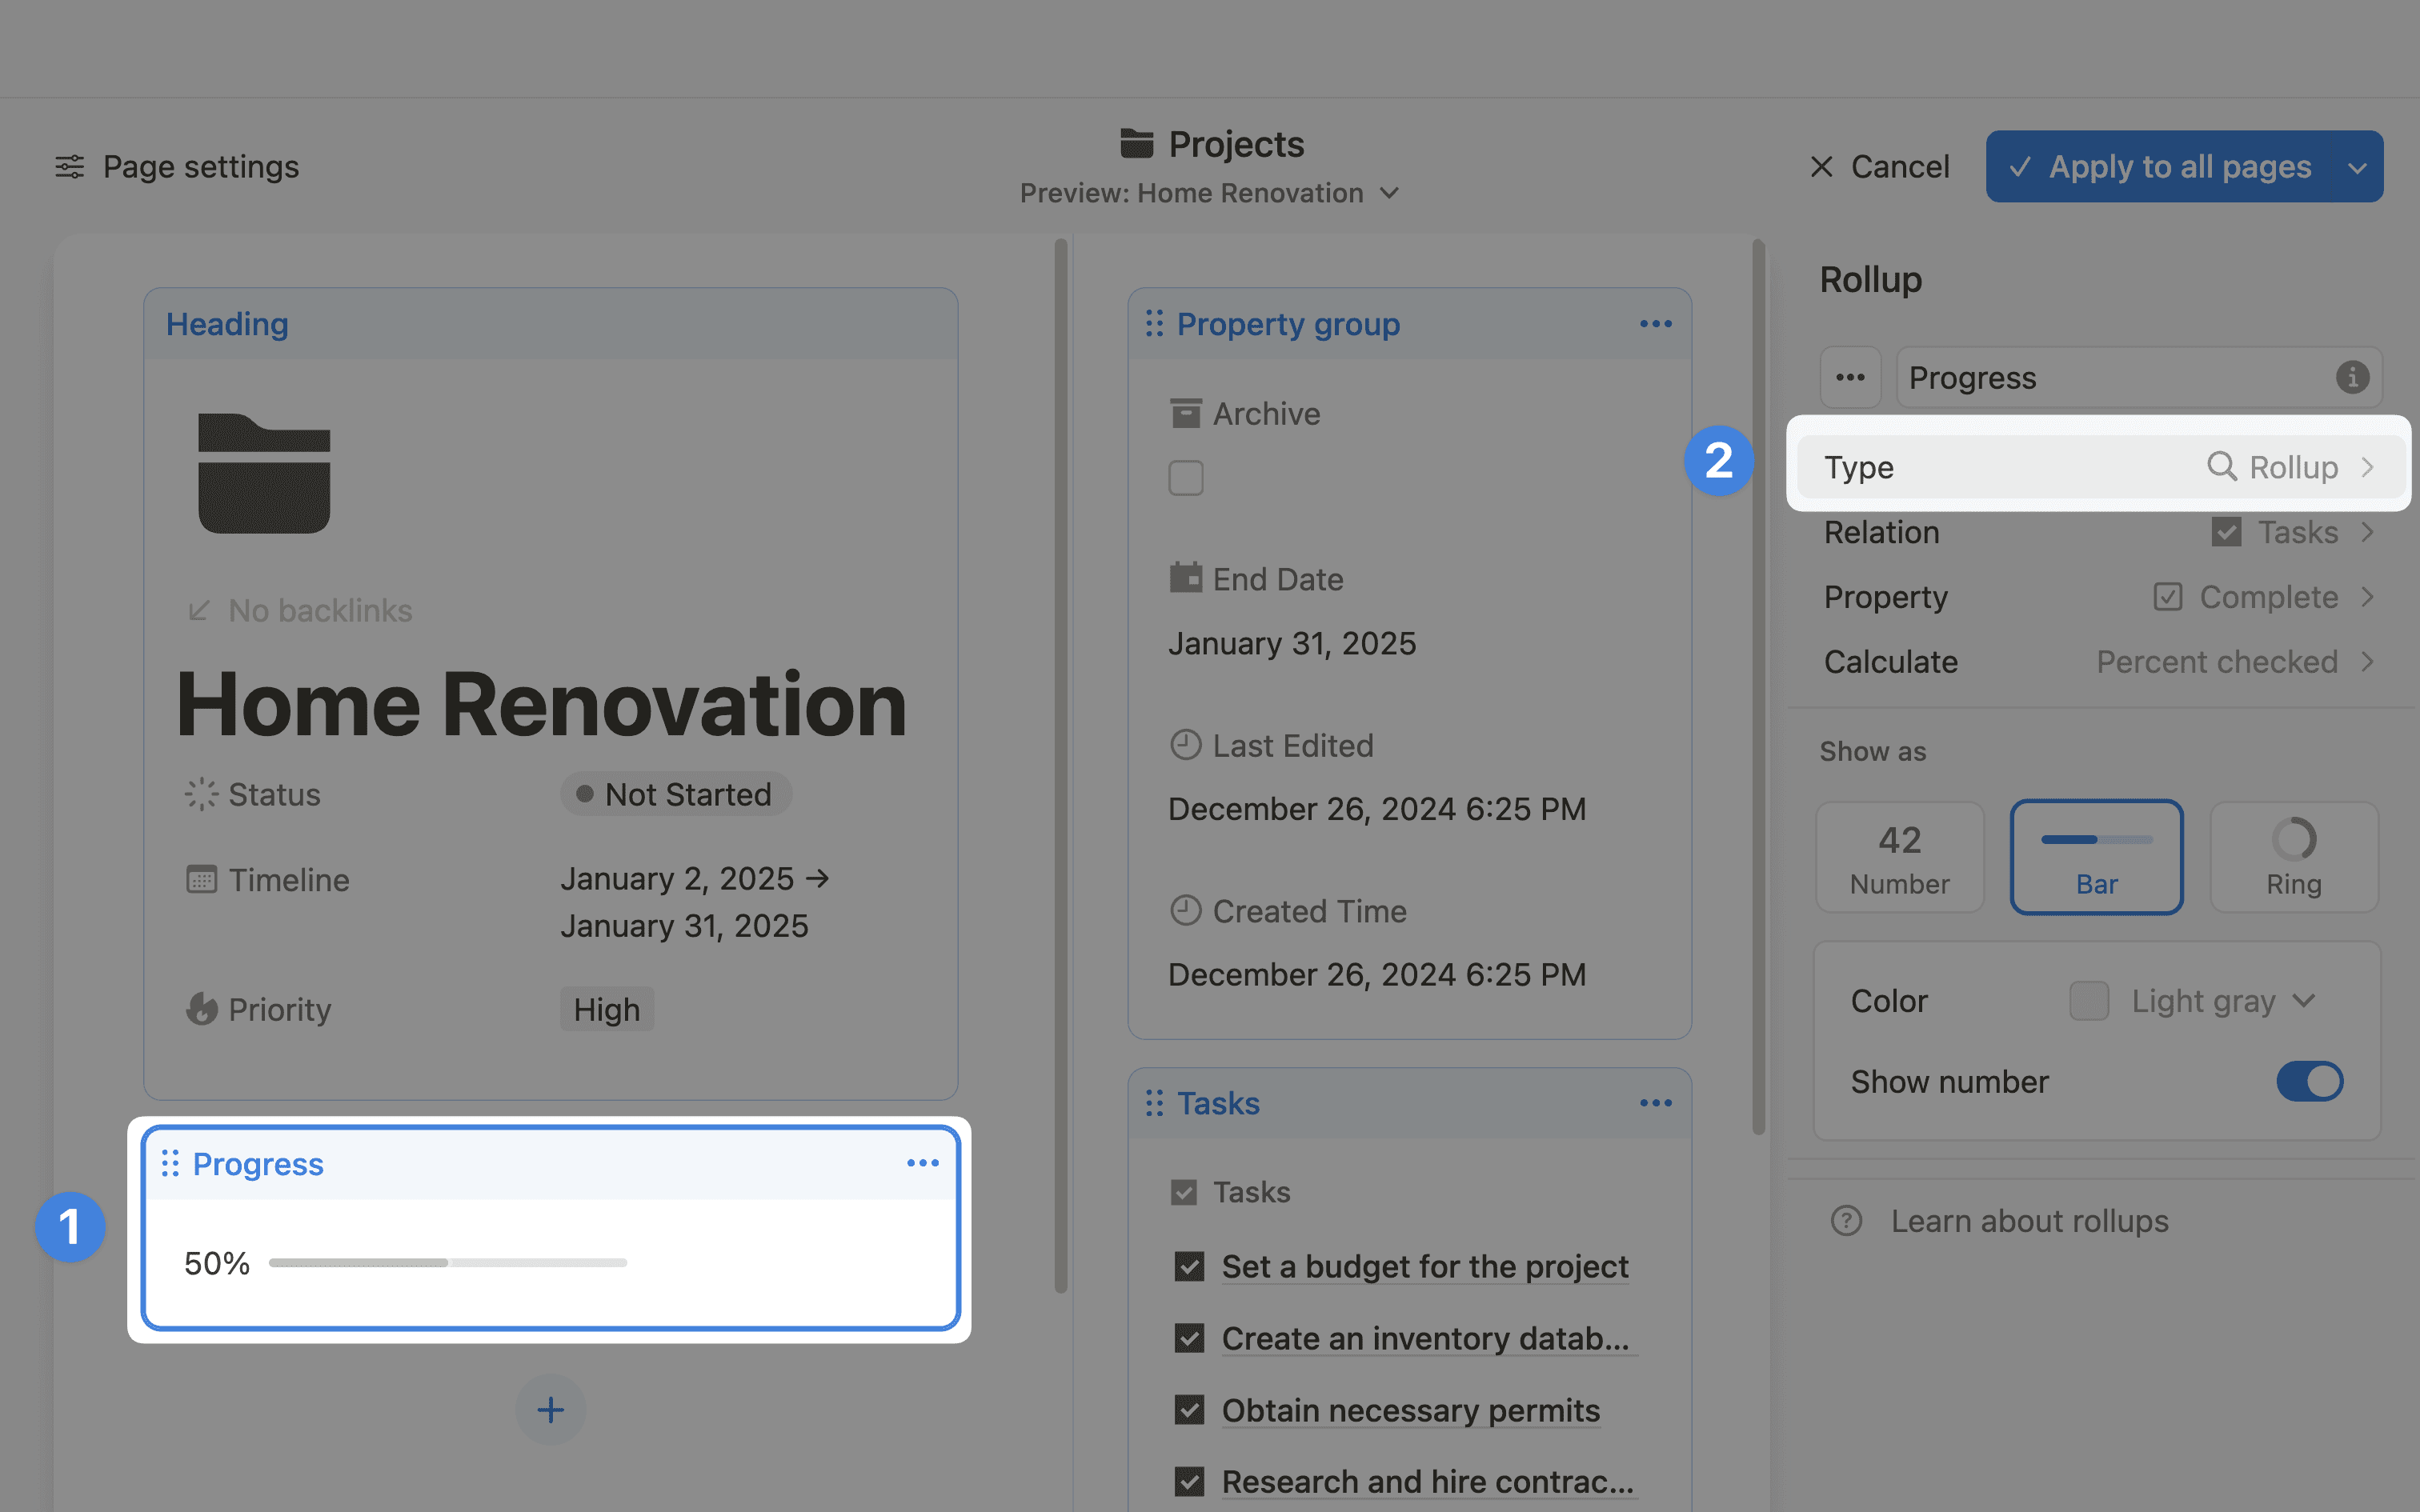
Step 2: Configure the formula
Copy the formula below to your new Formula property.
Then replace the "Tasks" database and "Complete" property with your own by pressing backspace where they are located and retyping your database and property names.
The necessary changes are numbers 1, 2, and 3 in the image below.
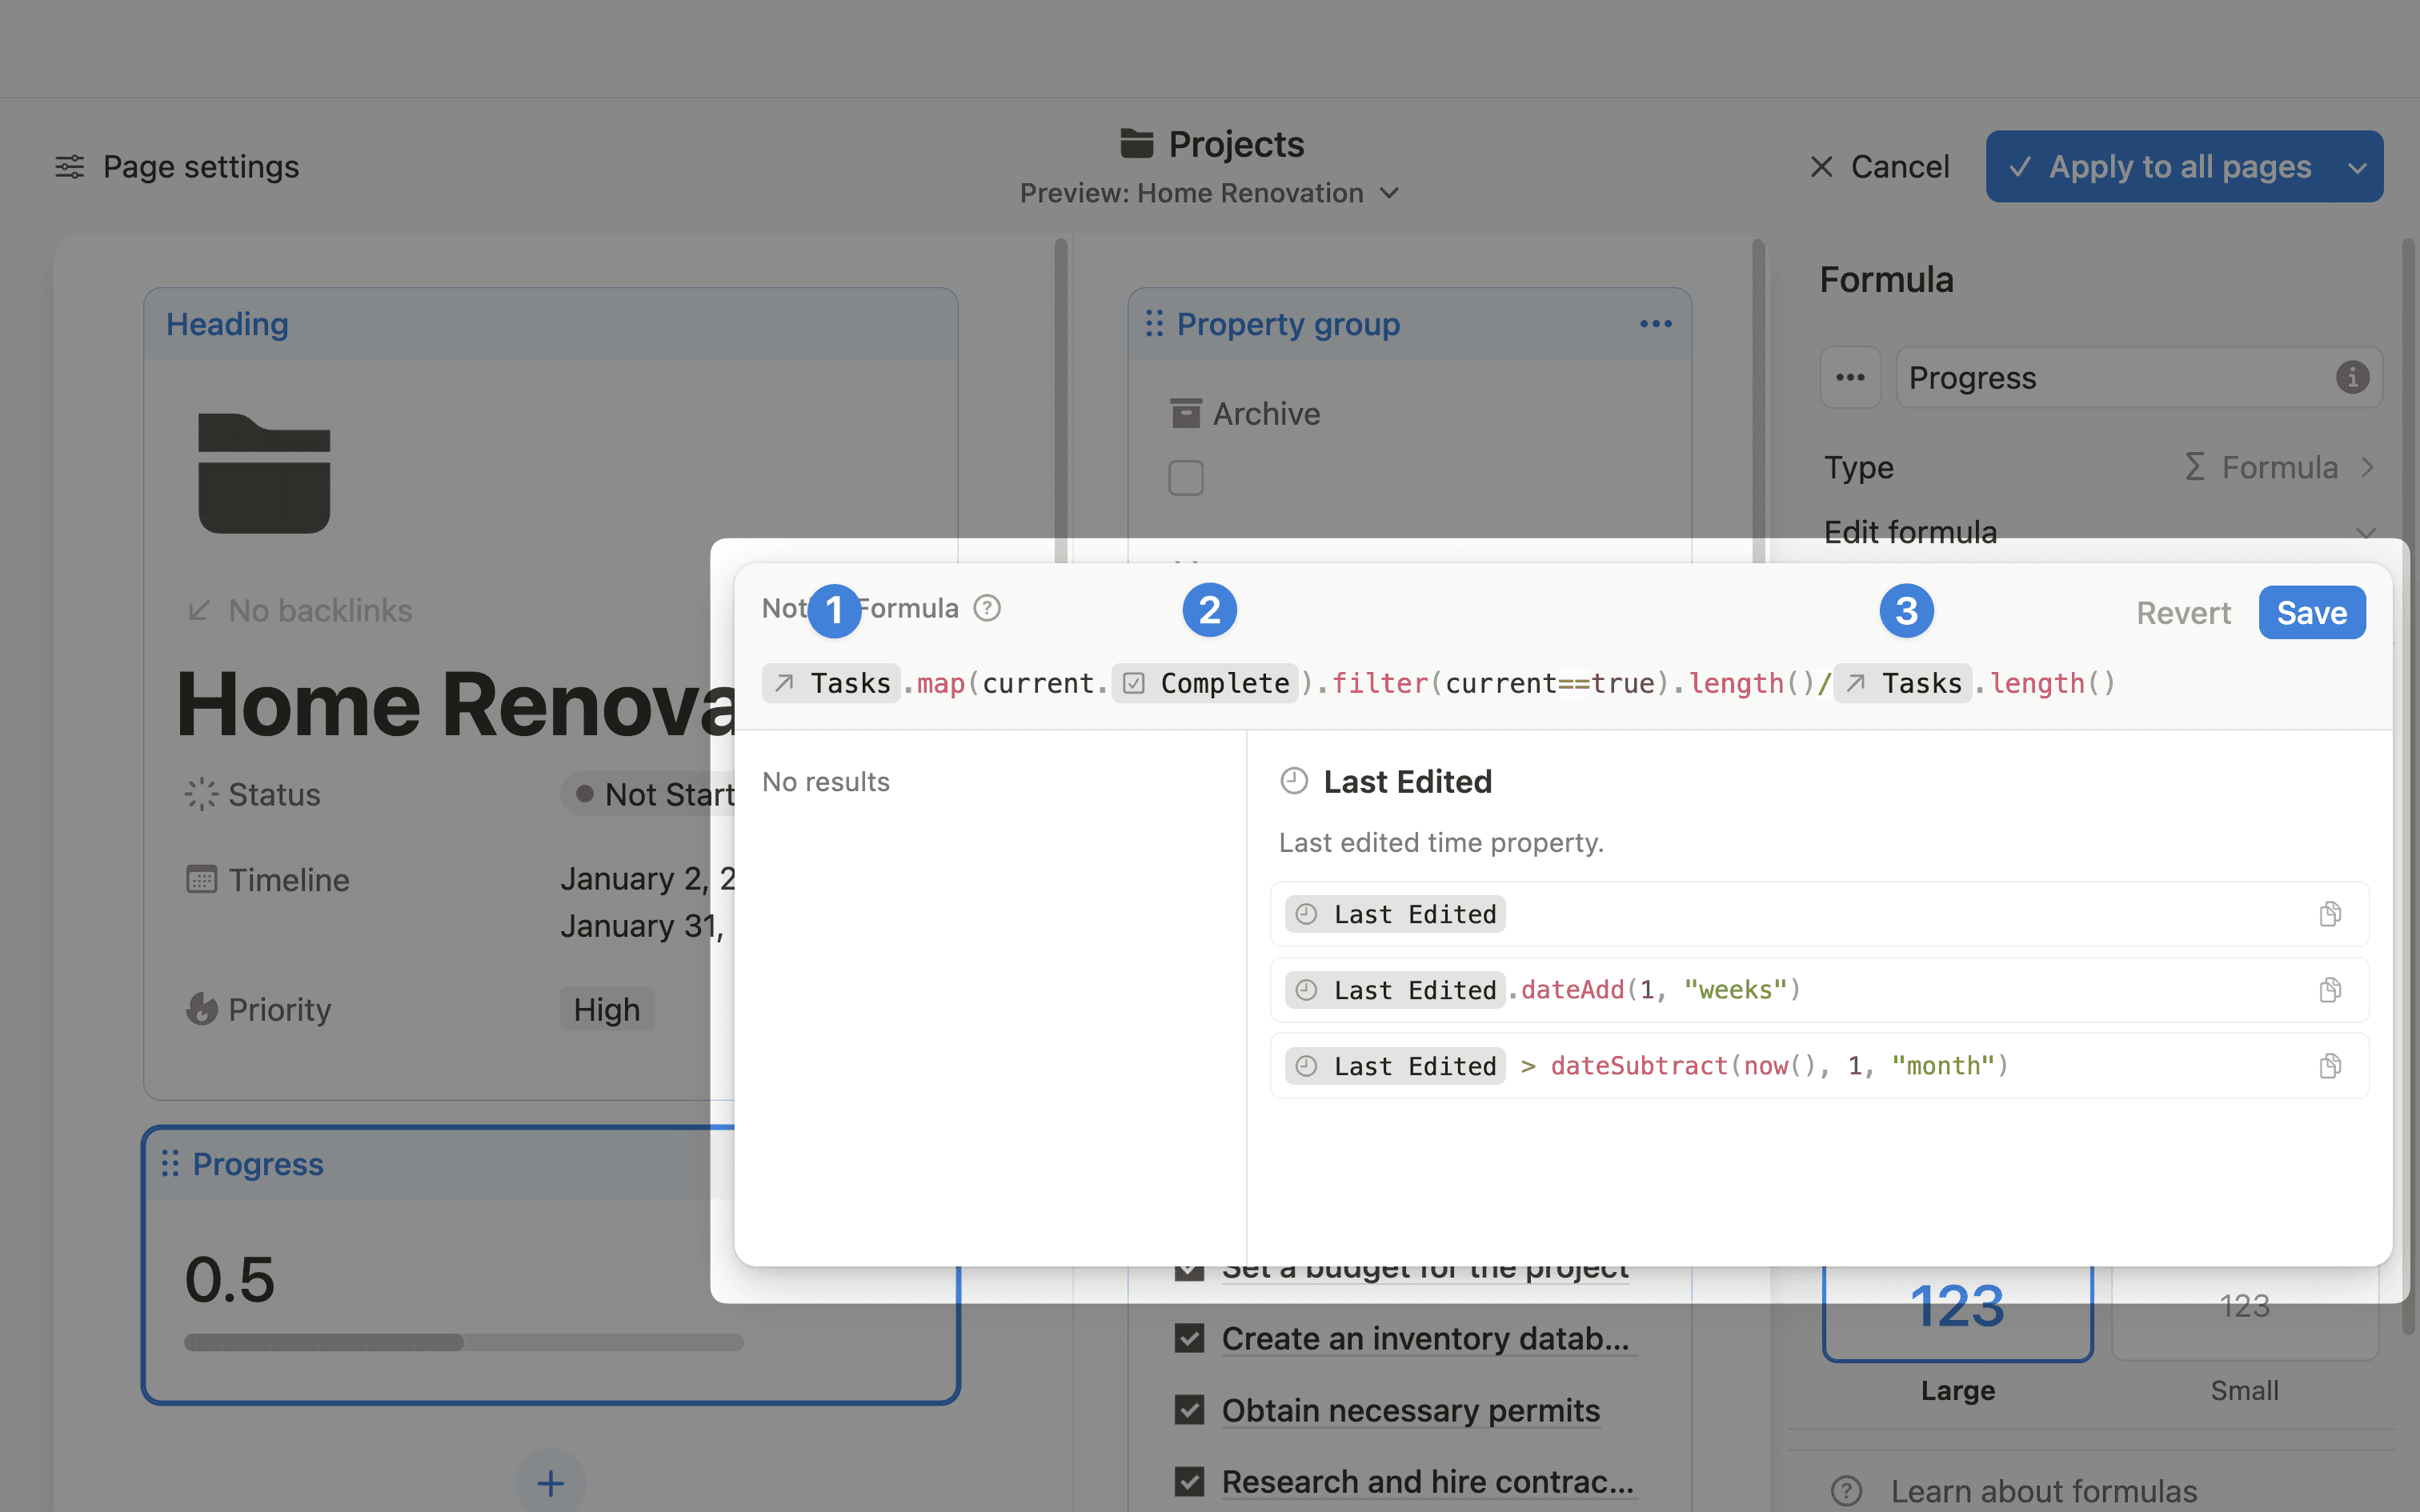
The image above displays the formula before rounding, to illustrate the calculations more clearly.
Note that the copied formula above already includes the rounding function. Once you make the changes, it should look like the formula in the image below.
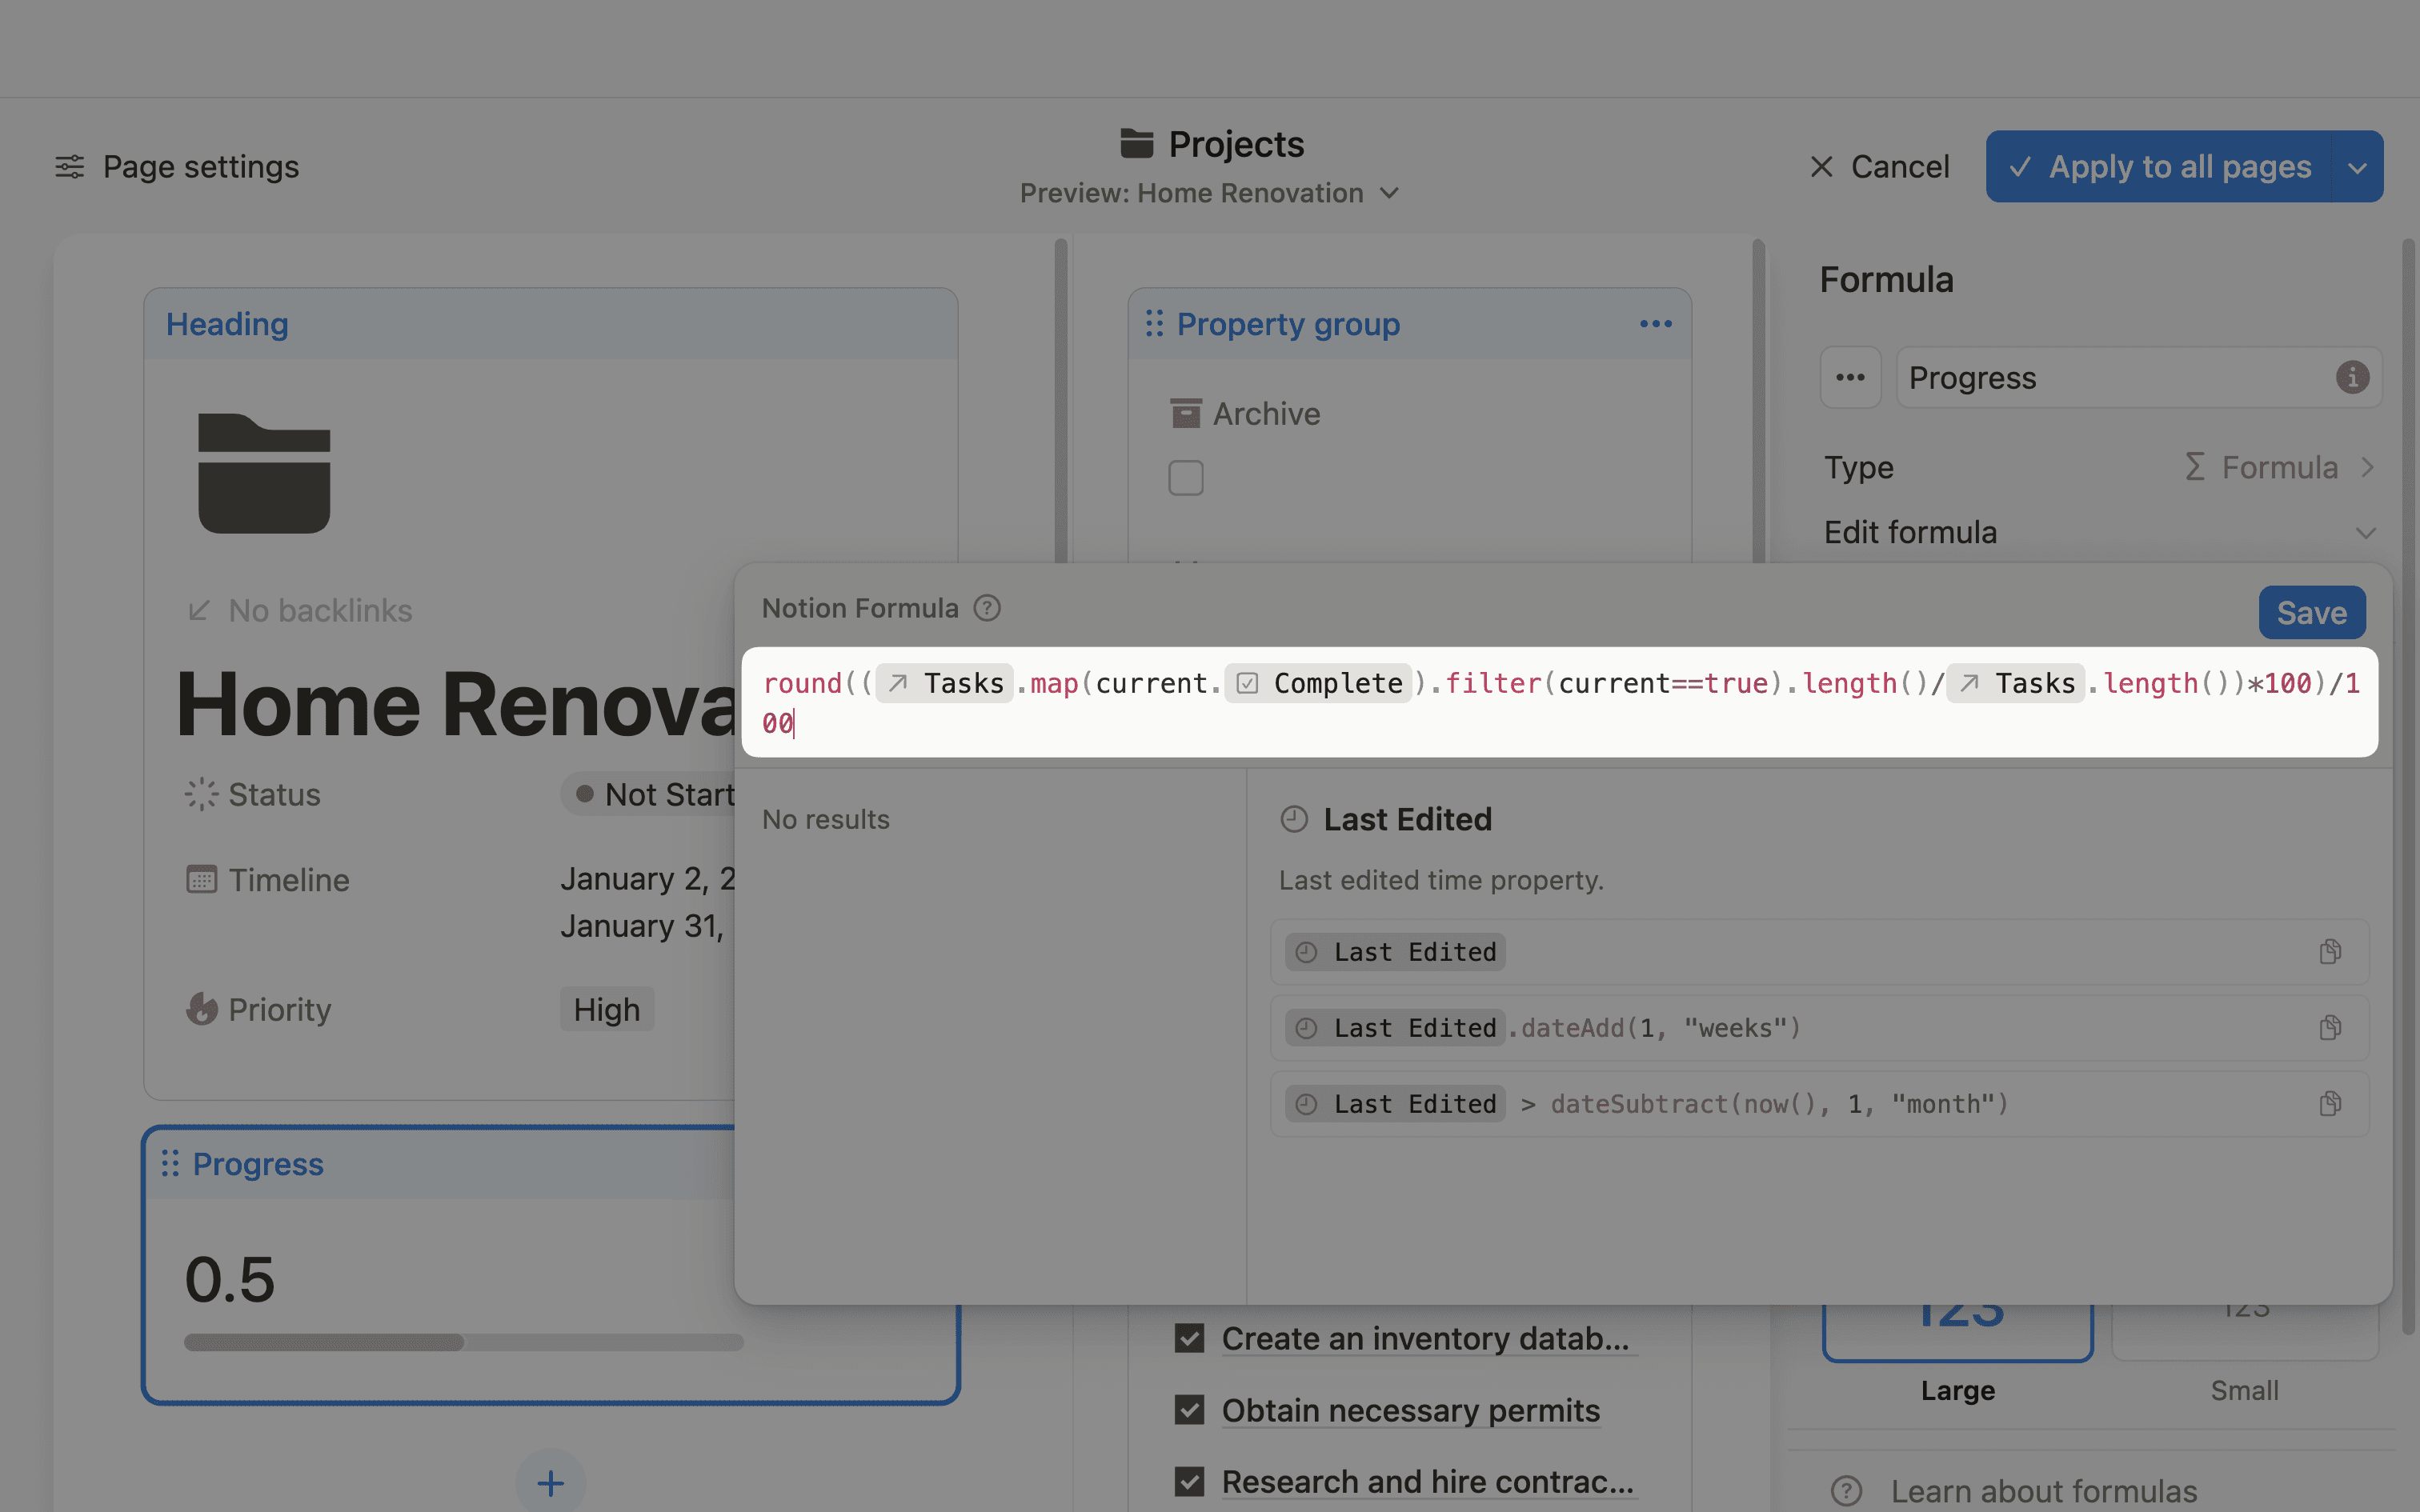
Step 3: Change the format and style
Once the formula is set up correctly, you should see the option to update the Number format to Percent.
Then, simply select the Bar option and ensure that the Large style is chosen.
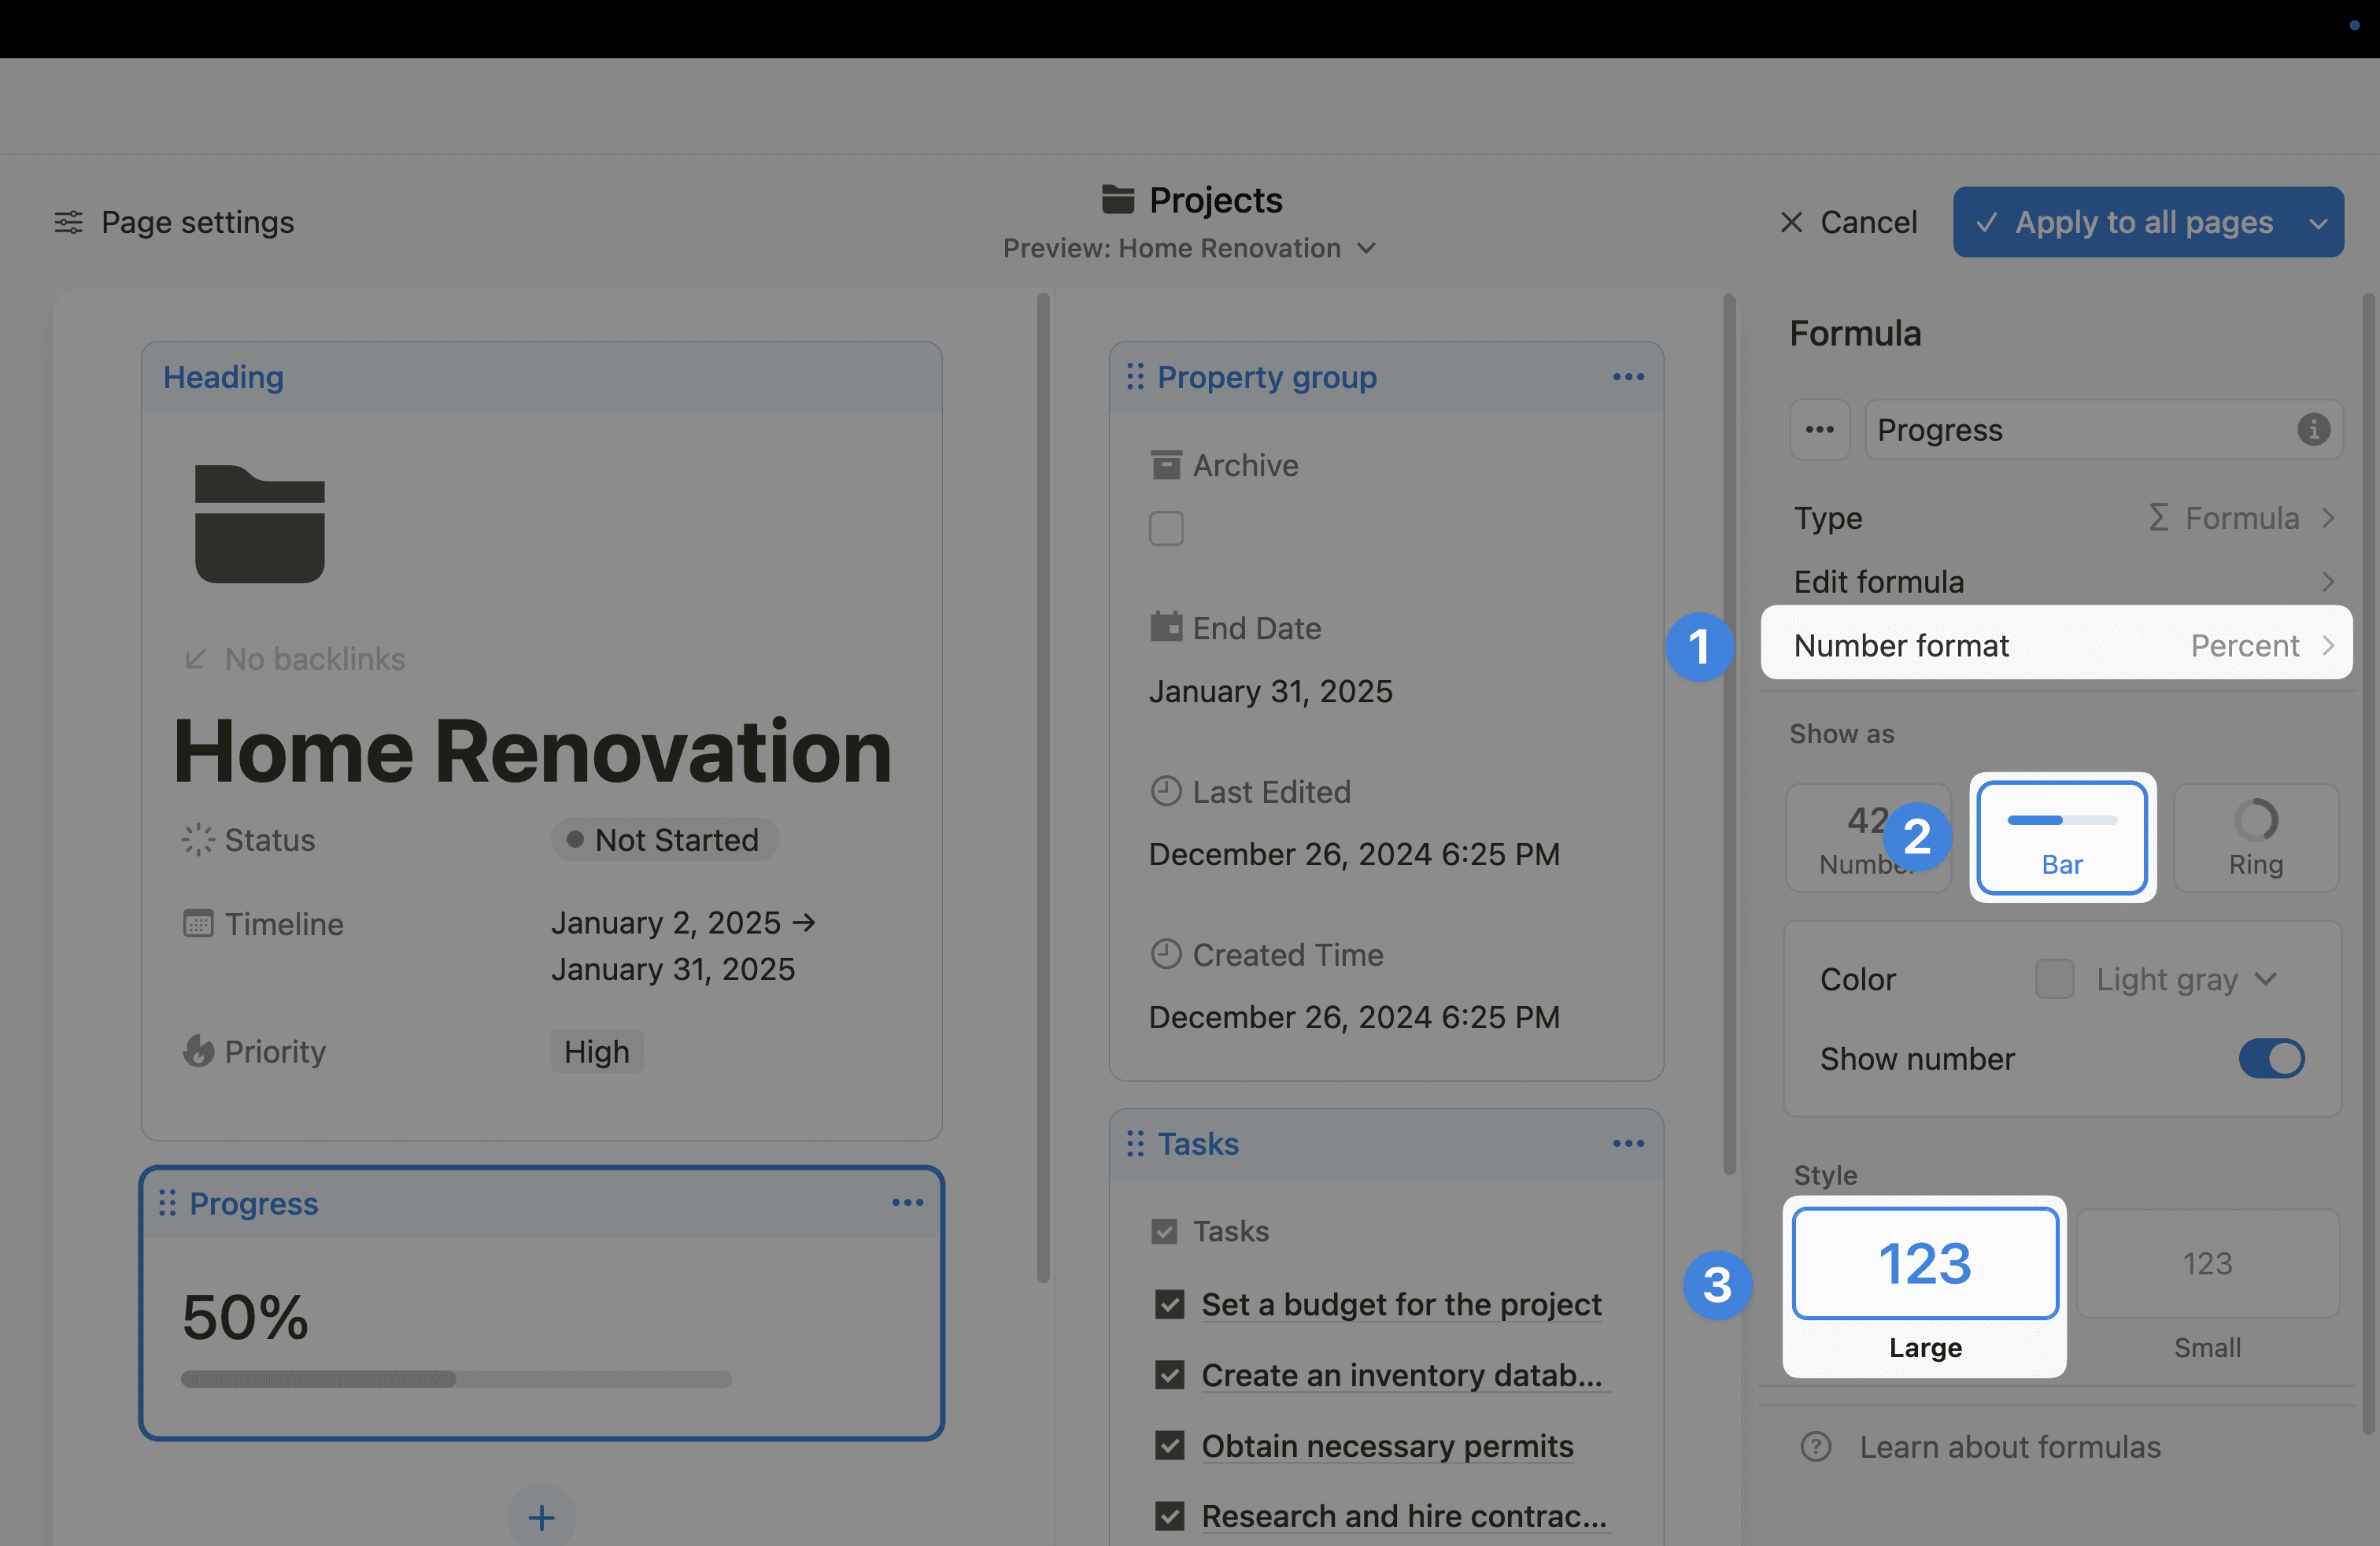
The final result will be as shown in the image below, a bigger number with a larger progress bar.
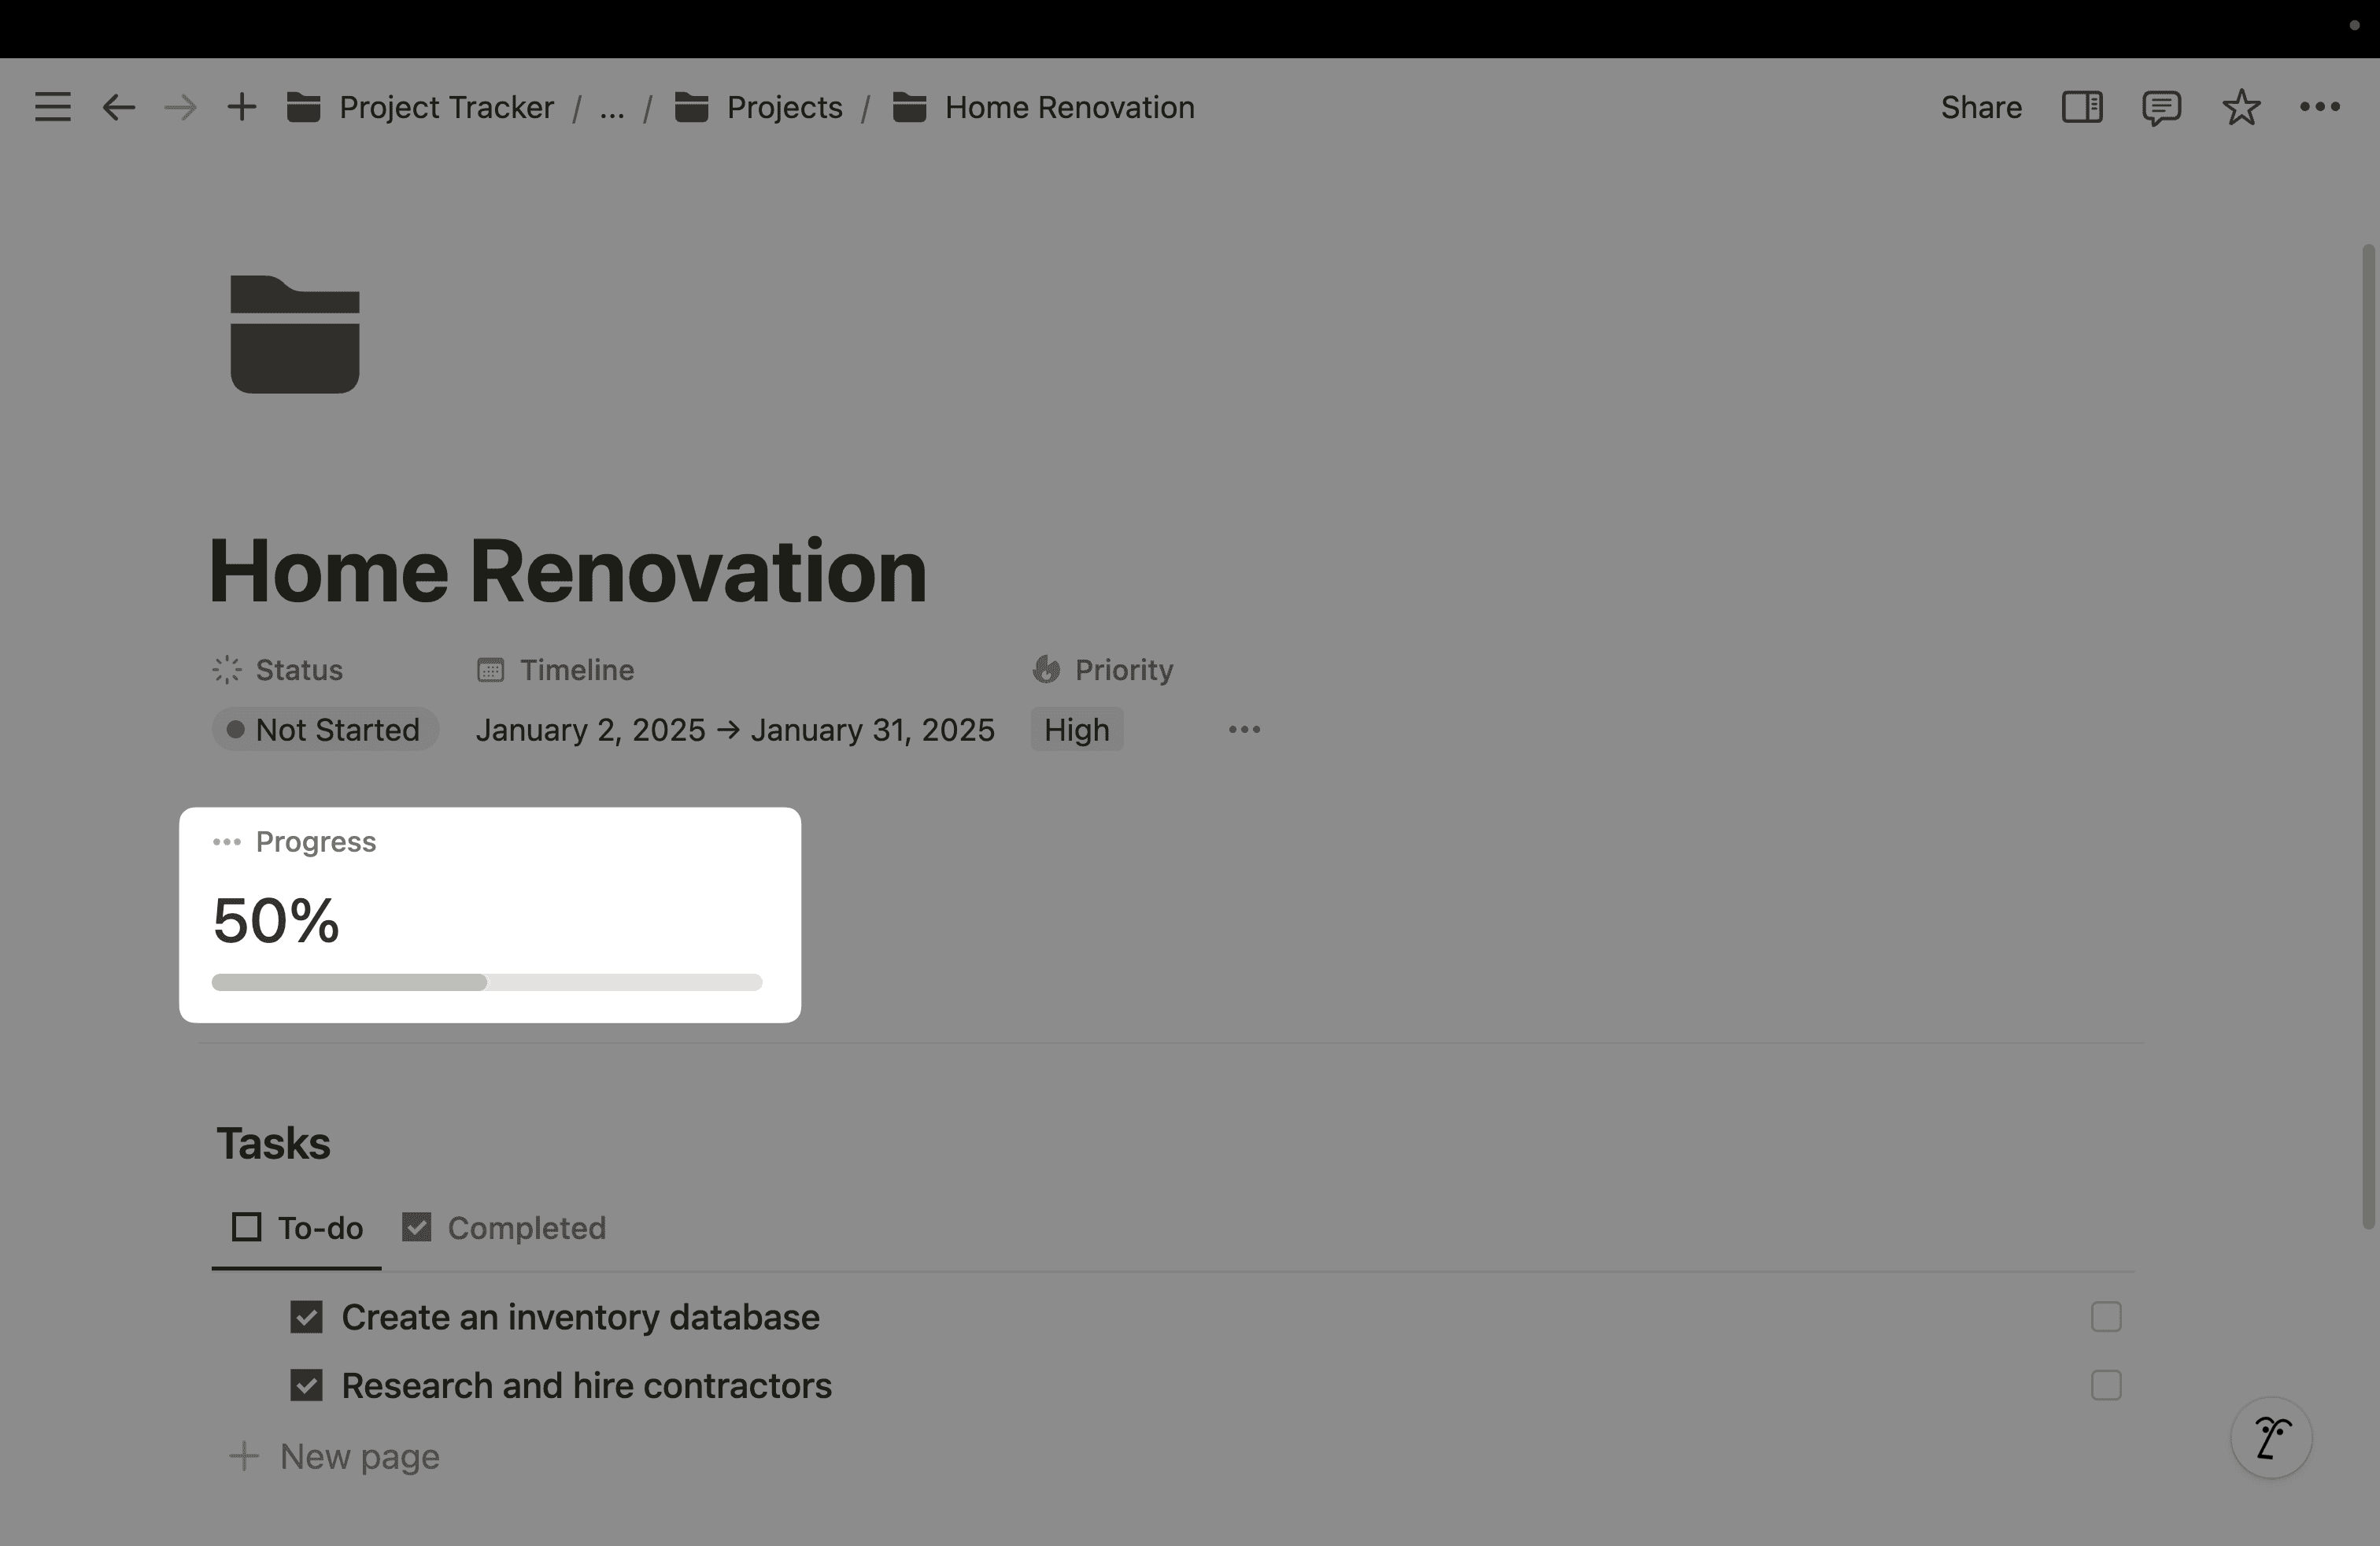
I hope this helps you upgrade your existing progress bar or create one to motivate you in larger projects.
You can also find the template used in this tutorial below.

